Tuesday, August 28, 2012

Preparing For The Zombie Apocalypse (I Mean Winter) Part II

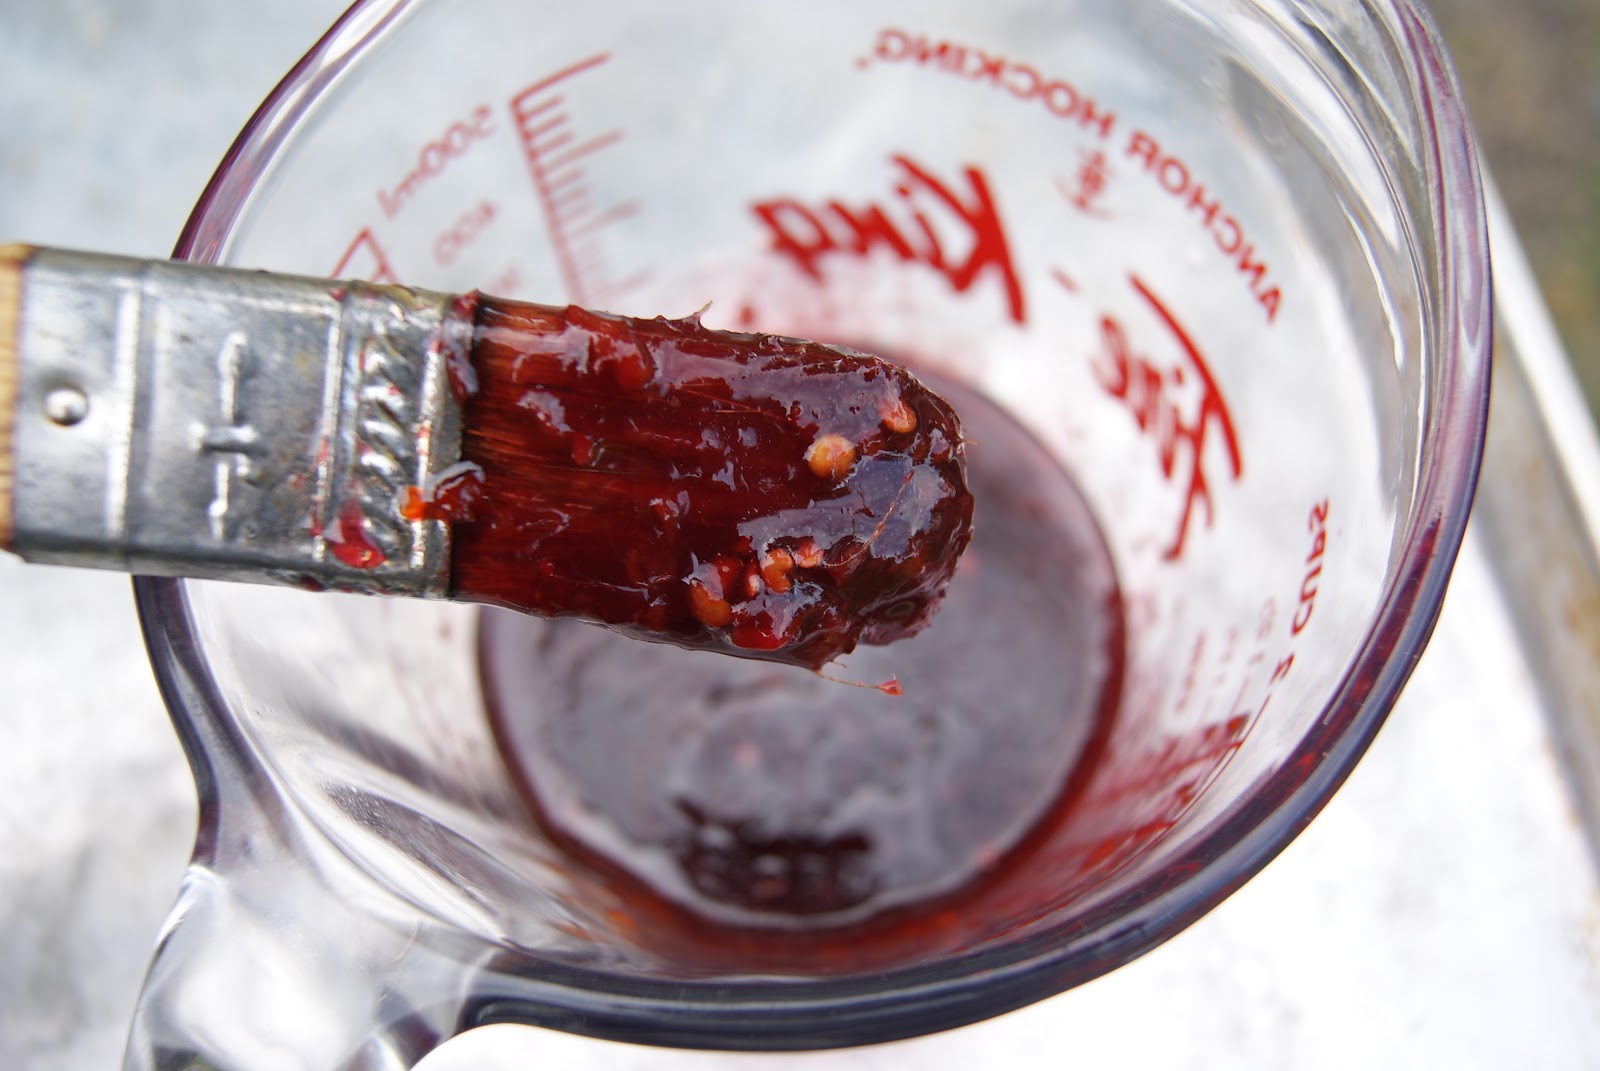
Lovely tomato jam....soooo tasty

Once upon a time people canned and jarred their garden bounty because it was needed to get them through the winter. It was a necessity of life before markets and grocery stores were able to provide year round produce. Now a days canning seems to be a novelty or a hobby people try out to test their abilities. I do know some people who can so they remain as close to their locavore ways as possible. The truth is canning takes some planning but doesn't have to take all day- unless you are actually going to process mass quantities that is. Many of the recipes I've tried out only made 2 or 3 jars of garden goodness at a time so it didn't take that long at all.

I used to think tasks such as pickling were too much work to bother with but now I think the real issue was I just didn't know how to do it, or have the right equipment. Sure you need jars with the right size sealer lids. Some tongs or even a handy dandy jar lifter helps. Many people use the sanitize setting on their dishwashers to sterilize the jars but I don't have that machine in the Little Kitchen so I bought this ginormous canning pot from Canadian Tire many  moons ago to boil the jars in. It even had a lifter jar lifter inside but I'm not too sure where that went. I have lined the bottom of the pot with a towel to keep things from jumping around too much.
This tomato will make delectable tomato jam
 There's a few basic rules (for safety) to follow when canning and pickling:
(If you are ever unsure, please make sure to do some research and find information and directions you are comfortable following. This is not a definitive list but just the steps I follow. Always follow the recipe's instructions.)

1) A clean, uncluttered kitchen:  Depending on how much you plan on canning, you will need space for the jars to rest until  you move them to storage.  Workspace for prep food and a spot to keep things while you work is always handy.

2a) Inspect your jars. There should be no nicks or cracks in them, especially around the lip where the sealer lid needs to seal.

2b) Wash & sterilize:  Your jars and lids must be washed in hot soapy water, rinsed, and sterilized to keep food borne illness at bay. I usually wash my jars before I do anything else and then pop them in the giant canning pot full of water and turn the heat on. (It will take a while for such a large pot to boil so this helps organize my tiny workspace.) Jars boiled for 10 minutes are sterilized.  It is important to sterilize your funnels, tongs, and jar lifter as well so toss those in too.  Some people also put jars in the oven at 225F for 10 minutes. Most recipes will tell you to keep the jars warm until ready to use (read the instructions). The oven is good for keeping jars warm without the water but keep in mind, some recipes do call for a water processing step after you put the lids on your jars.


2c) Sealer lids can be boiled separately just before using so you don't risk boiling away the sealing compound from the lids.

3) Read the instructions on your recipe a bunch of times to make sure you know what to do. I also keep the recipe at the ready to double and triple check that I am doing things right.

4) Prep your food as per instructions and proceed from there as per your recipe instructions.


5) Enjoy the popping sound of sealer lids being sealed! When it comes to the sealer lids and rings, many recipes tell you to just finger tighten until the sealer lid gets sucked in and seals out all the air, then tighten. Follow the recipe's instructions on this one. I like to store the jars with the screw rings loose so that if food spoilage happens, the sealer lid will literally pop its lid.

So far this summer I have tinkered with pickled beets, pickled zucchini, spicy pickled green beans, and tomato jam! I have failed to take photos of all these as this was my first time for all of these things and wanted to enjoy the process. I must confess that I loved the tomato sauce so much I went out to buy more local tomatoes because I didn't have enough in the garden....

Until next time, stay warm and eat well.

Wednesday, August 15, 2012

Delectable Eggplant Sammies

Our yard renos are coming along somewhat slowly (It's my yard so there's no rush). We have been working on fixing it up, starting with a new fence and removing some trees that were in the way and coming up with ideas to make it a space we can really relax in. Today's plan to raise the sinking shed were put on hold due to rain. This of course allowed us time to clean up inside. (There's always something to do!) Aside from a nap and a trip to the store, I used some of our lovely bounty from the farm to make us a late lunch.

We keep getting such wonderful fresh veggies from our CSA at Almost Urban Farms and this is keeping me busy with cooking ideas. As the summer flys by, we get more and more yummy items in our baskets. This week we got this absolutely gorgeous (and gigantic) eggplant. We got an eggplant last week and I tried grilling it up along with the summer squash and let me tell you, it did not turn out as planned. Grilled zucchini and summer squash are always delish, but the eggplant turned out tough, chewy, and gross...ew...almost made me not want to eggplant ever again.

This week I knew it would wind up breaded, fried, and loving placed between 2 pieces of bread....and you know what? That is exactly what happened!


You will need:

1 eggplant
1 cup flour
3 eggs
2 cups panko bread crumbs
1/2 cup grated Parmesan cheese
1 tsp garlic powder
salt and pepper
1 clove garlic
fresh herbs (today I used rosemary, sage, oregano)
canola oil (enough to shallow fry)
provolone cheese, sliced (or any other good melting cheese)
marinara sauce (or your favourite tomato sauce)
Bread. Choose a good sturdy bread. I found a gorgeous loaf of Italian bread but the sour dough looked good too.

Wash and slice the eggplant into thick slices, sprinkle with salt and lay in a colander to drain.


Line a baking sheet with foil and place a rack on the sheet. Place this contraption in the oven and set the oven for 225 or 250 F, This will keep the cooked eggplant warm and crispy while waiting for the others to cook.

Pre heat a large fry pan and add a good amount of canola oil to the pan.  When the oil is hot, add a clove of garlic and a couple sprigs of rosemary, sage, and oregano. (Remove the herbs from the oil as they get crispy so they don't burn. I kept adding more herbs as I went and this really added a nice flavour to the the finished eggplant)

This is also a good time to heat up your marinara sauce in a small pot on the stove.


While the pan is heating up, you can set up a breading station: Place 1 cup of flour on a plate and mix in a good pinch of salt and a grinding of pepper. In a bowl, break and scramble up the 3 eggs. Finally, in a large bowl mix together the panko, Parmesan, garlic powder and another healthy grinding of pepper.

Review time:
  • baking sheet contraption in the warm oven
  • marinara sauce warming up
  • oil heating up
  • eggplant sliced, salted, and draining
  • breading station ready to go
Now it is time to bread the eggplant and fry to a crispy golden brown!!

Pat the eggplant slices dry with a paper towel (or clean tea towel).

Coat each slice in flour and shake the excess flour and plunk it into the egg wash, make sure it is thoroughly coated and allow the excess to drip off.


Coat the egg coated slice into the panko mixture. You may need to lightly press on the crumbs to help them stick. (Don't forget the edges!)


Carefully place a slice of eggplant in the hot oil and fry until golden brown. Gently flip the slice over and continue to fry. When the slices are all golden brown and yummy, transfer to the baking sheet/rack contraption you have in the oven to keep warm. (I have found that without the rack, the underside of the eggplant will get damp and uncrsipy...so don't skip the rack)


Once you have everything all fried and golden, get the bread sliced, the cheese ready and start assembling your sammie!

Check out the rack on a foil lined baking sheet....
I layered my sammie like this: Bread, sauce, eggplant, cheese, (tossed some kale on too), bread. I only used one slice of eggplant but I should have used 2 (and more sauce)!


If you don't want to fry the eggplant, you can spray it with oil or nonstick spray and bake it in the oven. You won't get the same crispness, but it will bake up nicely.

Until next time, stay warm and eat well.

Thursday, August 9, 2012

Summer Sipping, Blueberries, and Chicken


Summer is flying by and I am still doing my darndest to keep up with the cooking and baking, picture taking and blogging.  Truth be told, I am taking tons of photos but I am failing at the writing the part....I even took my laptop to the back yard to write but there are so many darn distractions in the yard...you know, the garden, butterflies, naps....that sort of thing....
The distraction of the first ripening tomato in the garden!!!
 I am still busy making my own lemon and ginger syrups for tasty summer bevvies (and for some marinades and dressings) but lately  I have tried a new syrup. Blueberry syrup!!! I did some research online for this one and came up with my own concoction that follows the recipe I follow for the lemon syrup. A simple syrup of equal parts sugar and water with the berries tossed in. This one seemed to work for me.


Blueberry syrup

4 cups blueberries (fresh or frozen)
1 1/2 cups water
1 1/2 cups sugar
1 lemon's worth of lemon juice

Put everything in a pot and let it come to a boil. Cook until the berries are popping. I gave the berries a bit of a mashing with a potato masher just to get all the juice out.

Allow everything to cool in the pot then pass through a strainer.  I stirred and mashed the berries in the strainer a bit more then transferred the mashed berries to a jar for use on toast....instant jam!


Store the berry syrup in the fridge.

I found this one required a bit more than 1/3 cup of syrup per can on club soda. It makes a nice fruity soda with a gorgeous colour.

Another use for this syrup:

BBQ sauce!!!!!

Mix equal parts chili paste and syrup and brush onto meats on the grill. I used this on chicken tonight and it was absolutely divine, a nice sweetness with heat on the back of the tongue!
I used Sambal oelek for this one.
Until next time, stay warm and eat well!! (and have a drink!)

Wednesday, August 1, 2012

Preparing For the Zombie Apocalypse (I Mean Winter)


 Fresh veggies straight from the garden or farm are one of the best things about summer. Many times our snow peas don't even make it into the house (I need a Scare Hubby and Scare Teen, not a scare crow!)! Hubby brought home yesterday's CSA goodies and boy was it a great week! Rainbow carrots, cukes, zucchini, gold beets, green pepper, beans of every colour.....sooooo good.

We munched on a plate of fresh carrots, cukes, and green pepper paired with a homemade ranch style dip. I am proud to say the herbs for this one came from the garden!!


Ranch style dip

¼ cup mayo
2 tbsp sour cream
lemon juice (From one wedge)
2 – 4 tbsp buttermilk (enough to thin it to whatever consistency you want)
1 clove garlic, grated
1 tbsp chives, chopped
1 tbsp flat leaf parsley, chopped
1 tbsp dill, chopped
salt and pepper

Mix everything together. Taste and adjust seasonings or herbs as needed. If using as a salad dressing, add more buttermilk to thin out the dip.

Now onto preparing for the zombie apocalypse winter.  I started pickling today. (no,  I don't mean drinking, but sometimes it is tempting.) I mean pickling some of the fresh veggies for later use. Prairie living does require some prep and saving our summer bounty, especially back in the days of yore when people didn't have grocery stores full of produce. Canning your own garden or farmers' market buys is one way to ensure local food is an option all year round.

My mother in law and I made pickles once or twice. We bought a bunch of jars and went all out.  The we got out of the pickling game and those jars sat in the basement. Eventually I gave the jars to a friend who needed them.

I have bought some new jars and have even cleaned out all my old spices and dried herbs that I bought in mass quantities from a Mom's Pantry fundraiser years ago and placed in mason jars of varying sizes. I knew the herbs and spices were way to old to use but just never got around to tossing them.  I have jars a plenty, for now.

These old herbs are gone!!!
If you read my post from the other day, I have been reading my way through The Little House Cookbook by Barbara Walker which has inspired me to do some more traditional type of cooking, including pickling. I have quite a few beets in the garden and will soon be overrun with zucchini so why not give the pickling a go?

The on going joke around the Little Kitchen is I am really just learning skills to survive the zombie apocalypse when it occurs...The Boy tells me he never really thought about that side of it, just the killing the zombies part....he's so pretty.
I managed to get 4 jars of beets and 3 jars of zuchinni spears pickled today.  I'm not going to post the recipes today but I will. I want to take more pictures of the process, and this post is rambling on.

Plenty of room in the Little Kitchen for a canning setup!
Until next time, stay warm (avoid zombies) and eat well!