Showing posts with label comfort food. Show all posts

Monday, January 31, 2011

A Week's Worth of Brekkies

A great way to get going on these cold winter mornings in is a hot bowl of oatmeal! I don't have time every morning to make a pot of good old fashioned oatmeal but I am not a fan of the prepackaged instant oatmeals, they just aren't the same. The oats have been so over rolled there isn't nearly as much fibre left in them as there should be and I can make my own flavours with natural ingredients.  If I want maple flavoured oatmeal, I will just add maple syrup!

My breakfast is happy to see me!
 I generally buy the generic brand of steel cut oats or multigrain oats and cook up a week's worth of oatmeal on Sunday afternoon or evening.  Follow the instructions on the box to cook up the oatmeal and divy the oatmeal out into single serve portions into bowls (with plastic wrap) or containers with lids if you have.  All you have to do in the morning is pop it into the microwave for a minute or two and you are ready for the day! (Or grab it to take to work, use the  microwave in the classroom/staffroom and let the kids watch you enjoy your oatmeal!)

Cook the oatmeal according to package instructions.


Here's where you can adjust the flavours to suit your mood:
  • Switch out the water for another liquid such as juice, coconut milk, soy milk, milk....even tea
 
While cooking add to the pot the flavours of your choice:
  • 1 chopped apple (keep the peel), handful of raisins, 1/2 tsp cinnamon
  • handful of chopped dates (sweetness), shredded coconut,
  • pumkin pie spices and smow pureed pumpkin
  • chopped pineapple, coconut, and some rum extract (Do you like pina colodas?)
  • a handful of chopped dried apricots, some chopped walnuts...
  • dried blueberries
The possiblities really are endless, just use your imagination.
Today I felt like apples, dates, and cinnamon!

Lately I have been adding some frozen strawberries and a gulp of maple syrup before popping it into the microwave for 2 minutes.

Being prepared for the week ahead helps keep morning mayhem to a minimum.  Get up, get ready, have breakfast, and go.
One for each day of the week!! This batch has apples, dates, and cinnamon in it but I will most likely add some maple syrup and strawberries in the morning!  This really does save so much time in the mornings.

Saturday, January 8, 2011

Chick-a Chick-a Boom Boom Chicken Pot Pie

Chicken pot pie goodness from my freezer!
While working on filling up that freezer, I turned out two deep dish chicken pot pies.  Chicken pot pies are the ultimate comfort food.  Since having enough leftover chicken to make a chicken pot pie in the Little Kitchen never happens, I buy the already cooked rotisserie chicken from the grocery store to make this dish.  I am sometimes leery of buying these chickens as they can be dried out.  I am the one digging through the cooked chickens looking for one with the meat that hasn't shrunk too far away from the bone.  They are helpful in a pinch and are great for chicken pot pies.  (As a sidebar, the carcass itself will yield a nice chicken stock as well).
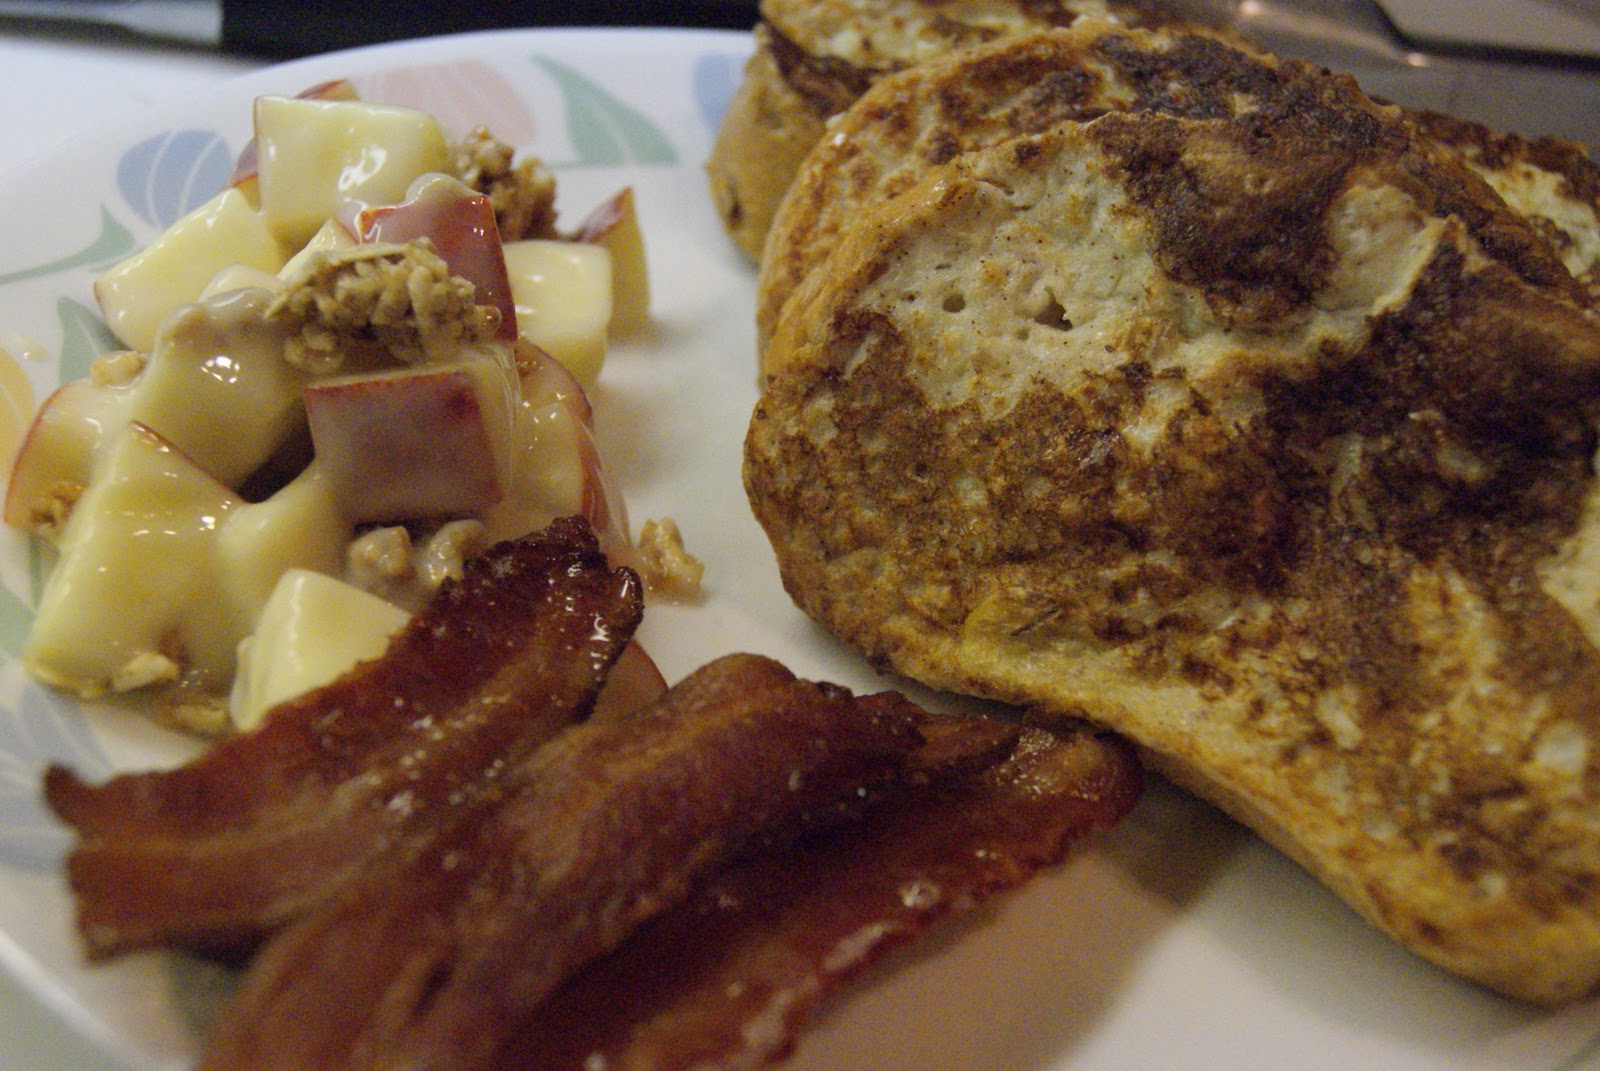
With some left over mashed potatoes and steamed broccoli....mmm boy, dinner!
This is another one of those dishes that I really don't follow a recipe for...either I have made it that much or it is one of those things that I am just comfortable making.  I will do my best to describe the process.

First you need to decide on the crust.  I have used, and really like the one that Chef Dennis posted for his pot pies.  I also like the one Lefty posted on Oil and Butter....decisions, decisions....Sorry Lefty, today I went with Chef Dennis' Pastry...next time I am using your recipe!

Pastry
  • 2 cups flour
  • 1 Tbsp Salt
  • 3/4 cup butter cut into 1/2  inch pieces
  • 2 large egg yolks
  • 1/4 cup ice water
Get your food processor out of the cupboard and place a cup of water in the freezer to chill.


Set up your food pro on the counter with the blade nicely in there.

Put 2 cups of flour in the processor and the salt...pulse to mix.

Add in the 3/4 cup of cubed, cold butter to the flour.  Pulse a few times to get the mixture all crumbly.

Add the egg yolks, one at a time, pulse twice after each addition.

Remove the water from your freezer and add 1/4 cup of it to the food pro and pulse 3 times.

Dump this crumbly mixture into a bowl or onto the counter.  Squeeze the crumbly goodness so it holds together and press into 2 discs of dough.
Wrap in plastic wrap and chill in the fridge for at least 1/2 an hour.  I have made this a day ahead of time before and it always turns out great.


While the dough is chillin' in the fridge, get the filling cooked up!  The filling can be adapted to suit your tastes and what you have on hand.  This is what went into today's pot pies.
  • 1/2 large onion chopped
  • a couple of carrots, Peel and sliced (today I used mini carrots)
  • 2 ribs of celery, diced (use the leafy parts too)
  • 1 large potato scrubbed and diced
  • a handful of mushrooms sliced (today I used cremini)
  • a handful of frozen peas
  • a handful of frozen corn
  • 1/4 cup butter (or canola oil)
  • 1/4 cup flour
  • 1 litre (4 cups) chicken stock
  • salt and pepper to taste
  • 1 bay leaf
  • 1 rotisserie chicken, meat pulled off the bones and chopped (all of the meat)
Heat the pot on medium and add the butter or oil (or a bit of both).

Saute the onions with some salt and pepper until tender.

Add the celery, carrots, mushrooms, and potato to the onions and let it cooks for about 10 minutes, stirring every now and then to keep things from sticking.  (oh and add the bay leaf and some salt and pepper as well)
Stir in the flour to coat the veggies and continue to cook for another couple of minutes.
Add the stock and stir continuously to get the flour incorporated.  The stock will thicken as it heats.
Stir in the chopped chicken, the peas, and the corn.  Go hunting and take out that bay leaf!

You are going to want to let the pot pie filling cool before you dish it up and add the pastry topping.  (It is just better for the crust that way.)

Once cooled, spray a couple of casserole dishes with non stick spray and divide the filling evenly between them. (This is a matter of preference, if you prefer a more shallow dish, then use it as it will make more pies.  You will have enough dough with this recipe to cover more pies.  We just happen to prefer a deeper dish pot pie)

Two dishes, sprayed with non stick spray

Rolling, rolling, rolling.....

Yup, looks good.
Roll out the dough so it will fit over the entire casserole dish.  I like to measure it out by placing the dish over the dough to make sure it is rolled out enough.

Cut off the excess dough
Voila!
You can go ahead and bake these right away in a 350F oven for 25 to 30 minutes.  (Brush the pastry with egg white first)

Remember a couple of slits to vent the steam!

If you are planning on freezing the pot pies for later use, pop them into a zip top freezer bag (or wrap really well with plastic wrap and foil).  Place in the freezer, flat and keep in the freezer until ready to use.


With my busy week which included my return to work and the making of a monster truck cake for my nephew, this was a great week to have a chicken pot pie in the freezer!

To bake from frozen:

Remove all forms of wrapping from the pot pie and place the dish on a baking sheet (protect that oven).


 Test the heat of the centre of the pie by inserting a knife for 10 seconds. Remove the knife and touch the blade...if the blade is hot, it is done, if the blade is cold, put it back in the oven!

Wednesday, January 5, 2011

On Top of Spaghetti, All Covered With Cheese, I Lost My Poor Meatball When Somebody Sneezed.

You know what I don't make as often as I would like?  Meatballs.  Spaghetti and meatballs to be exact!  Of course it is impossible for me to make just one dinner's worth of meatballs.  I must make extra for the freezer.  It seems now that the holiday season has passed and freezer space is no longer dedicated to baked holiday treats, it is time to fill it with dinner type goodness.  The some 10 dozen perogies I made yesterday will serve us well but a family cannot live on perogies alone (despite the attempts of a certain teen age boy).


Today was a busy day for stocking the freezer but the meatballs were also a part of tonight's supper.   I didn't feel like thawing the ground beef from the freezer so I sent the boy out to the store....he is so helpful.  This is one of those dishes that I make different every time I put it together.  I really have no measurements for this one.  Please bear with me.

Meatballs
In a small bowl, combine:

between 1/2 to 1 cup of bread crumbs (tonight I used panko because that is what I had)
enough milk or half and half for the crumbs to soak up

Not pretty, but it all adds flavour!
Let this sit for about 10 minutes.  In the meantime:

Grate 1 medium sized onion and place in a large bowl. (or grate the onion right into the bowl).
Using a micro plane or a garlic press, get 3 or 4 cloves of garlic into the mix.
Add 1 or 2 eggs, a healthy pinch of salt and pepper.
Don't forget the handful of grated Parmesan!!
Add the meat as well!Today I used a large family size pack of ground beef but a combo of beef and pork is good, so is ground turkey or chicken...use what you like!

Add the milk and breadcrumbs to all of this and mix it together with your clean hands.

I used a scoop to help portion out the meat balls.
 Bake in the oven at 350F for about 20 minutes.


If you forgot to tell your teen shopper to pick up lean ground beef, and had to use regular ground beef, there will be a lot of grease on the baking sheet.  Let the meatballs cool for 10 minutes then transfer to a paper towel lined sheet or to a cooling rack.  Once cooled, lay the meatballs in a single layer and freeze until solid.  Now transfer the frozen meatballs to a zip top bag or other freezer safe containment unit, label and place back in the freezer until you next spaghetti night!  (Meatballs thaw so well in your favourite sauce!)

A very simple sauce to go with your meatballs!

Heat a pan and add a tbsp or so of olive oil.  Now saute up 1 medium onion, chopped and 1/2 a bell pepper of your choice....today I had a yellow pepper so I used that.

Grate or press in 1 or 2 cloves of garlic and keep cooking for a minute or two.  Open up a 28oz can of crushed tomatoes and a 28 oz can of diced tomatoes and add this to the mix.

Pop in a bay leaf and let this simmer on low for about 15 minutes.
Next add about 24 meatballs and continue to cook on medium until the meatballs are heated through.

Enjoy with a helping of your favourite pasta.

Wednesday, November 17, 2010

Breakfast for Dinner?

Well the weather has turned cool...cooler than it was yesterday anyways and cool enough to snow!  It is also getting dark so darned early that everyone is sleepy and feeling like comfort foods.  By 5:00pm tonight (official sunset was at4:42pm with a sunrise of 7:44am), it was pitch dark outside.  Making the transitions to such short days can be tough but we put on an extra layer of clothes, turn the lights on earlier and tough it out until spring.

Tonight is a great night for breakfast for dinner!  French toast to be exact!  I have been thinking about making french toast for a few days so when I came home to a slow cooker meal that just didn't go as planned, I delighted in making French toast!  Warm, soothing, with a touch of cinnamon...just the thing to warm me up!  Served up with crisp bacon and a maple apple salad, tonight's dinner was not only soul soothing, it warmed the heart as well!


French toast 

Thickly slice 2 loaves of day old bread of your choosing.  Tonight I used a loaf of rye and a loaf of multigrain bread.  Any rustic, unsliced loaf will work well.

Heat a fry pan or griddle to medium heat.


In a casserole dish or other vessel with a flat bottom and high sides mix together:
  • 6 eggs, beaten well
  • 2 cups 1/2 and 1/2 (or cream or milk. I have also used evaporated milk)
  • 1 tsp cinnamon
  • 1/4 tsp nutmeg
  • 1 tsp vanilla
Beat these ingredients together really well.

Melt a pat of butter in the hot fry pan

Dip a piece of bread into the custard (egg) mixture and turn it over so that both sides are will coated.  Allow excess to drip off and place in the hot pan.
 
Fry until golden, flip and fry side number 2 until golden.  Place finished pieces in a pan in a warm oven to keep until serving.

Serve topped with maple syrup, or powdered sugar, or fruit, or whipped cream, or what ever floats your boat!


For the bacony side kick:
Preheat oven to 300 degrees F.
Spread bacon out in a single layer on a greased (or sprayed with cooking spray) baking sheet.
Bake until golden delicious.  (about 20 minutes)
Once cooked to your desired doneness, layer between some paper toweling to drain the fat.

Maple apple salad


In a bowl, mix together:
  • 1/2 cup plain yogurt 
  • 2 tbsp real maple syrup
  • 2 apples, cored and chopped (I like to leave the skins on)

Top with granola (I didn't have any granola on hand tonight but I did use some Kashi cereal and it tasted great!


This salad also tastes great topped with some crumbled bacon.