Showing posts with label butter. Show all posts

Thursday, November 3, 2011

Diving Into Darkness and an Upside Down Plum Cake

I just can't wait for daylight savings time!! It is soooooooo dark in the mornings it feels like the alarm is going off in the middle of the night! Walking to work in the dark is also kind of scary......just sayin'. Perhaps I should take a flashlight.... At least I get home while it is still light out.  As we delve deeper into autumn then into the depths of winter, it will be dark at the beginning and the end of the work day. OK, enough about the impending darkness on the prairies, we are after all, here for the food!


The other week we bought a bunch of these cute Italian plums.  Hubby loves plums and he figured he'd take them in his lunches to work.  The very first day, I got a message from him that read.  "These plums are tasty".  Followed very quickly by "I just found a worm in the plum".  Well, at least it was the whole worm.....right?  Understandably, he was a little gun shy about taking any of the plums after that....  ICK!
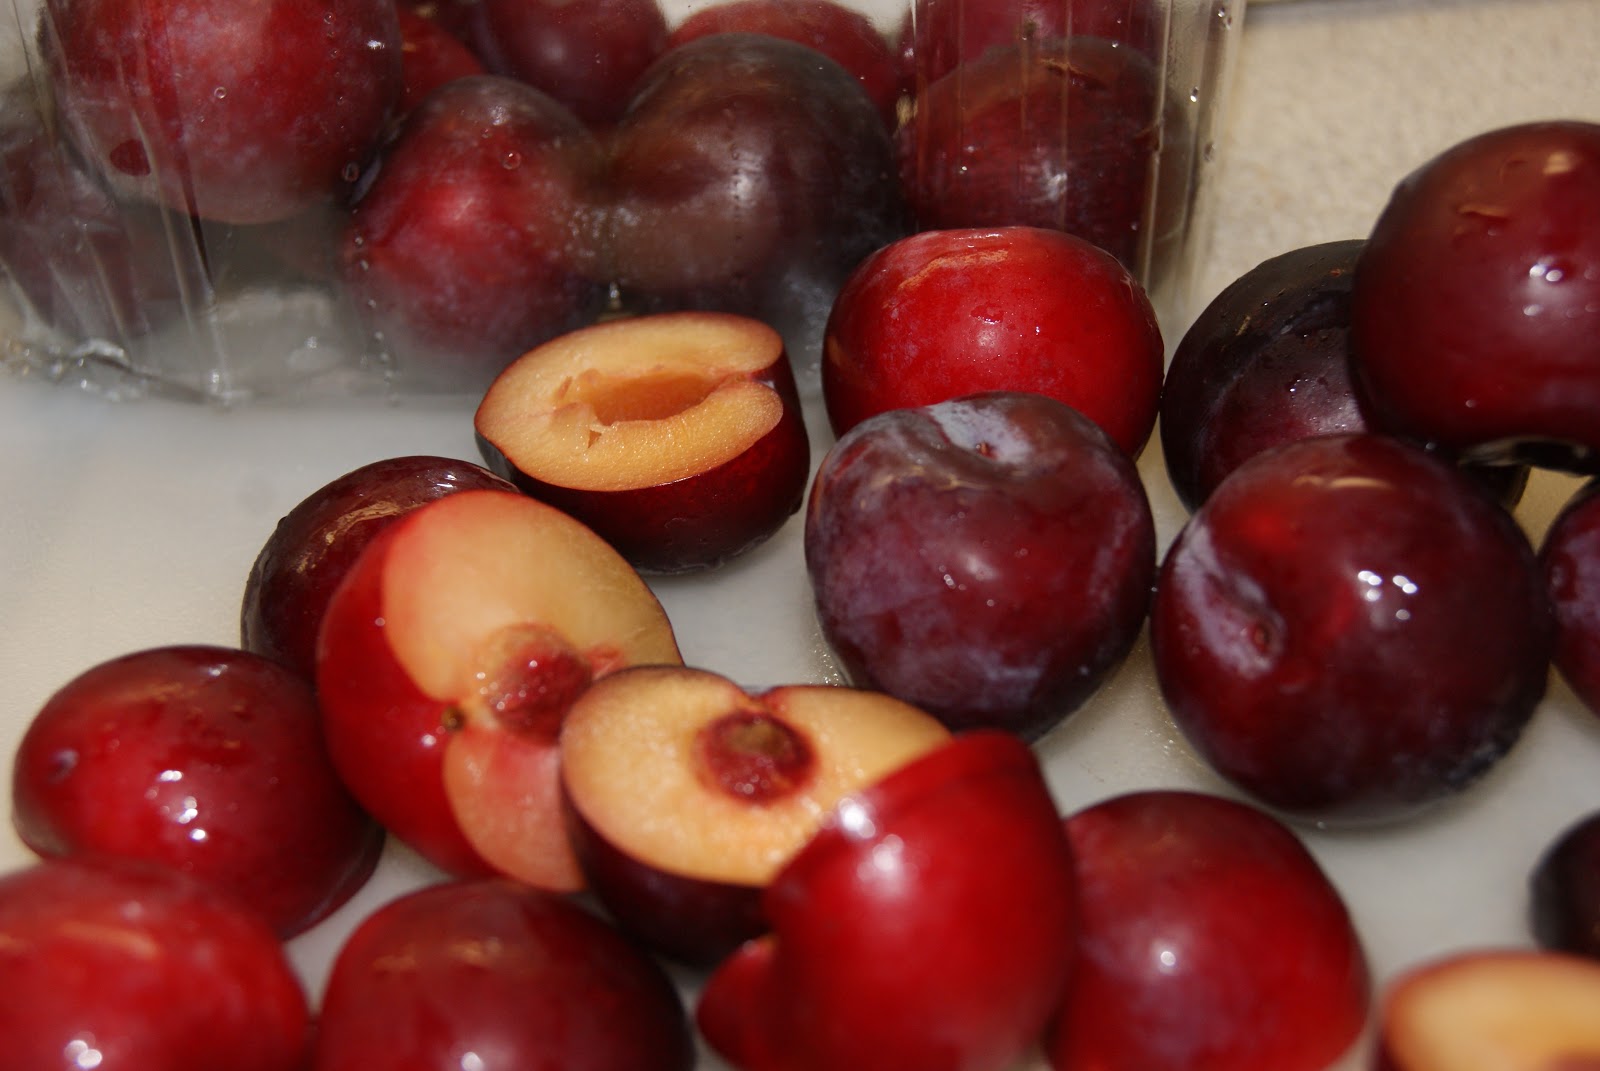

Now I just can't let a basket of plums sit there and not be baked into something!  I started searching the Foodbuzz archives for plum recipes and found this delectable looking upside down plum cake from Boulder Locavore.  After checking the cupboards, then running to the store for milk, coming back, starting the baking, it was after 9:00pm. So what did I do? I kept going forcing me to stay up late. Yes, 6:00 am comes quite early but once I started mixing, I just kept going! Did I need the cake for anything? No. But with my Hubby and the Boy both studying for their courses, I needed something to pass the time.  Also, the plums make me think of summer....

I slightly adapted the recipe to suit my baking style but this cake is so fabulous you should go check out Boulder Locavore yourself.  This cake would go well with other fruit if you don't have plums on hand.

Upside down Plum Cake

·         1/2 cup butter, softened (divided into 3tbsp and 5 tbsp portions)
·         ½ cup packed light brown sugar
·         2 tablespoons water
·         3 cups pitted plums
·         1 ¾ cups flour
·         ½ cup ground almonds or almond meal
·         1 cup white sugar
·         1 tablespoon baking powder
·         ¼ teaspoon salt
·         1 cup milk
·         2 eggs
·         1 ½  tsp vanilla
 
         Preheat the oven to 350 degrees.
 
     Wash and cut the plums into wedges.

       Melt 3 tablespoons butter and pour into the bottom of a 9 x 9 pan. (I used my spring form pan and the butter leaked out so play it safe with a regular pan)

       Add to the butter in the pan the brown sugar and water.  Stir to combine and spread the mixture evenly across the bottom of the pan.

  
     Arrange the plums on the bottom of the pan and set aside.


      In a large mixing combine flour, ground almonds, white sugar, baking powder, and salt.
 
     In another bowl, mix together the milk, 5 tbsp of softened butter, eggs, and vanilla.
  
      Add the wet ingredients to the dry and beat until well combined, then beat another minute on medium,

    
      Bake for 45 minutes or until a toothpick inserted in the center comes out clean.   I think know my cake needed another 5 to 10 minutes to bake.
I lost a lot of the brown sugary goodness through the pan....

           Allow it to cool for 5 minutes on a cooling rack (note: do not allow it to sit longer or it may be difficult to remove from the pan).  Run a knife along the sides of the pan and carefully turn onto a serving plate.    Cool about 45 minutes.

 I highly recommend this cake.  It was the perfect thing to have for breakfast this morning!!
Until next time, stay warm and eat well!

Saturday, May 7, 2011

Strawberry Rhubarb Cupcakes

I am the only girl in my house (unless you count the cats but....).  Sometimes being surrounded by the boys, I feel the need to have nice, pretty, girlie things around.  You know, just because it is nice sometimes to have pretty things.  One really girlie thing I have is my lunch bag.  It is a Disney princess lunch bag and it is pink.  Co workers giggle at it, I know they do because the giggles are often followed by "Nice lunch kit, did you steal it from your kids?"  No, it is mine.  The boys both have New York Mets lunch bags but if they leave that one in a locker or at work, they will not take the pink princess lunch kit! Having pretty things really is just a way of establishing ground rules for what belongs to me.  (Although I am sure that when it really comes down to it, they really don't care either way.  I do however appreciate them letting me think that way.)

My friend Trina made some oh so pretty looking strawberry cupcakes the other day, they really had me drooling.  I started looking (by looking I mean Internet search) for strawberry cupcake recipes.  I found so many that it was overwhelming.  What I decided to do was adapt my vanilla cupcake recipe into a strawberry cupcake recipe.  The strawberry meringue butter cream recipe I saw on Annie's Eats. These girl knows her butter creams! She and Trina both used the one from Martha Stewart.  I changed things up a bit. What I did was this, I used my regular Swiss meringue butter cream and added pureed strawberries at the end.....GLORIOUS (insert angels singing here).


I did make another addition to the cupcake recipe.....Rhubarb!! We were wandering around the produce section and low and behold they had beautiful looking stalks of rhubarb so I made strawberry rhubarb cupcakes with strawberry meringue butter cream.....summer in a cupcake!!


Strawberry Rhubarb Cupcakes
Printable recipe

R2 D2 is always close by...
3 cups flour
3 tsp baking powder
1 tsp baking soda
1/2 tsp salt
1 cup butter
1 1/2 cups sugar
4 eggs
4 tsp vanilla
1 1/2 cups buttermilk
2 cups strawberries and rhubarb (chopped fine)
splash lemon juice
1 tbsp sugar
Small dash of pink food colouring (optional)

Pre-heat oven to 350F

Finely chop the rhubarb and the strawberries.  Mix with the splash of lemon juice and 1 tbsp sugar and set aside.

In a bowl mix together 3 cups flour, 3 tsp baking powder, 1 tsp baking soda, 1/2 tsp salt and set aside.

In the bowl of a stand mixer (hand mixer or by hand will work too) cream the 1 cup butter with the 1 1/2 cups sugar until light and thoroughly mixed.


Add the eggs, 1 at a time allowing each one to mix in completely before adding the next one. Mix in the vanilla and the food colouring, if using.


Add the flour mix and the buttermilk, alternating additions starting and ending with the flour.

Mix in the strawberry/rhubarb mixture.


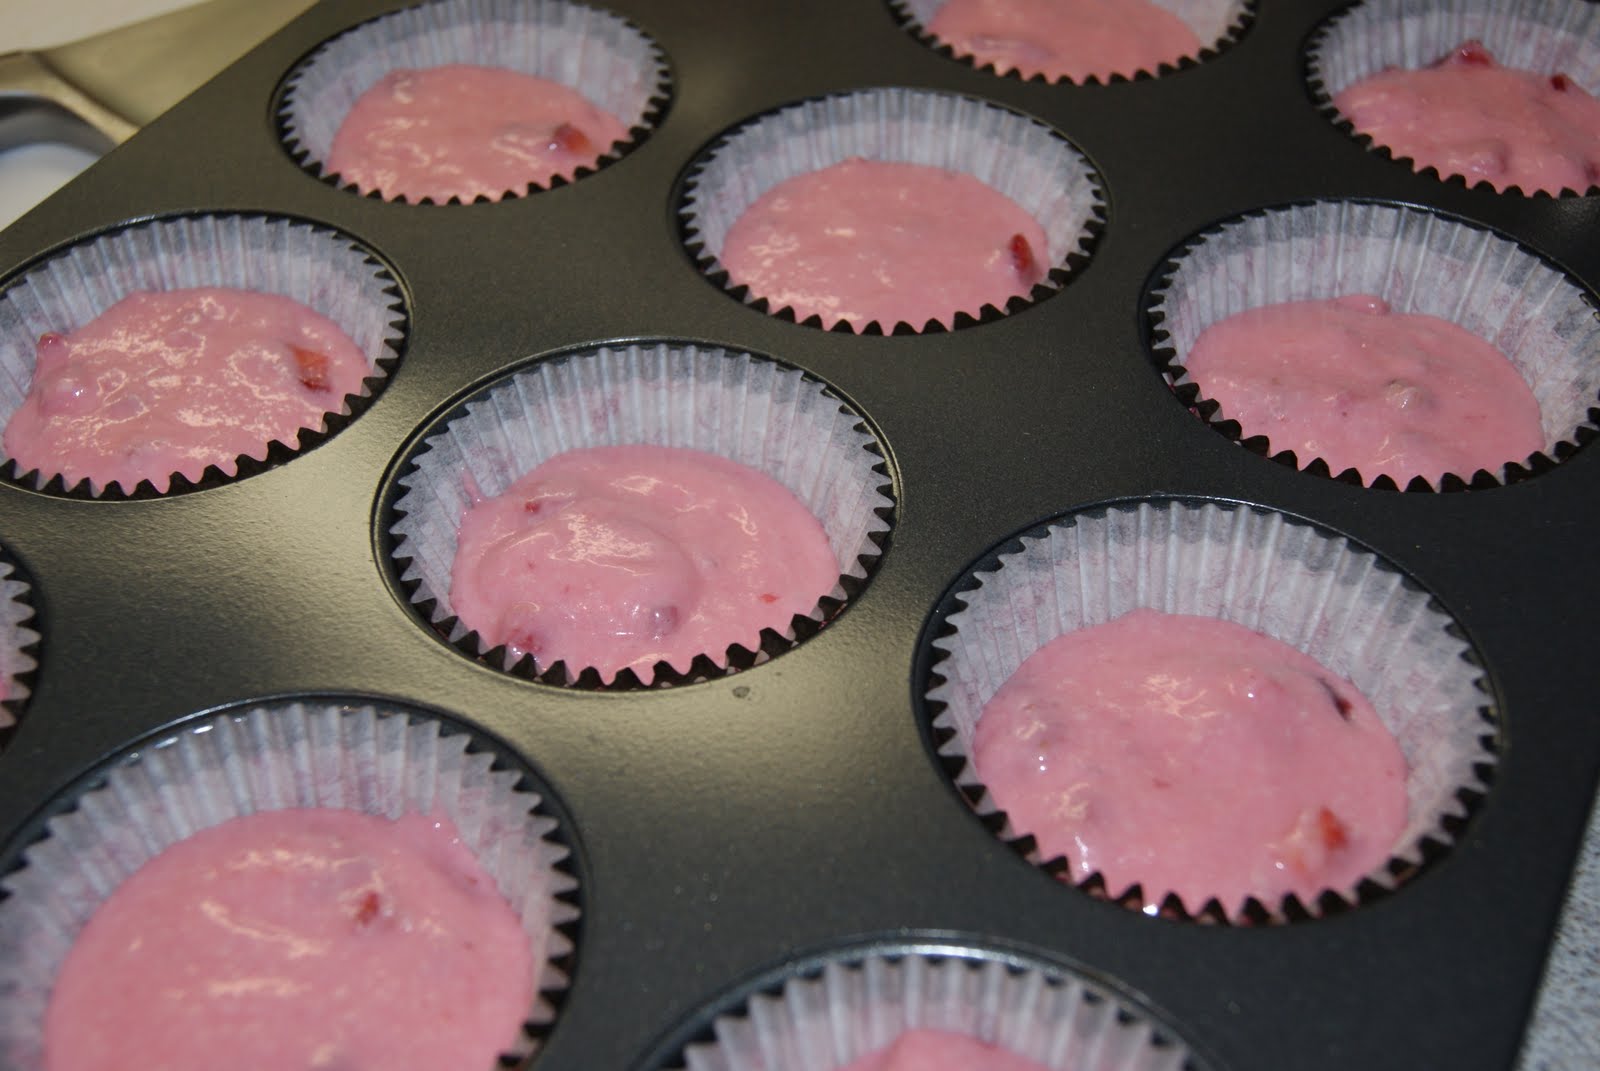
OK, I am going to level with you here.  I added some pink food colouring to the batter with the eggs to make sure I got a pretty pink batter!!

Scoop into lined cupcake pans to 2/3 full and bake for 15 to 20 minutes or until a toothpick inserted in the centre comes out clean.  Cool in pans for 5 minutes then remove to cooling racks to complete cooling.


Strawberry Meringue Butter Cream

5 egg whites
1 cup plus 1 tbsp granulated sugar
1 1/2 to 2 cups butter, room temperature
1 cup strawberry puree (strawberries, splash of lemon juice in a blender until smooth)

In a bowl set over (not in) simmering water whisk together sugar and egg whites until the sugar is dissolved and the temperature reaches 160F.   Remove from heat and start the next step. (I pulled mine off the heat before 160 as my 'finger test' was not gritty indicating the sugar had dissolved.)

Finger test- dip in a finger and rub with thumb...if it feels gritty, keep whisking and heating.

With the whisk attachment, beat the egg whites until thick and glossy and form stiff peaks. This will take about 5 to 8 minutes.

Add in the room temperature butter 1 tbsp at a time until mixed in.  You may find that you want to stop adding butter when you reach the desired consistency.  I noticed right away when the consistency changed and decided to stop adding butter. I used only 1 1/2 cups of butter today.


Mix in the vanilla and the pureed strawberries until well combined.


Swirl onto pretty cupcakes!!

R2 D2 approves of these pretty cupcakes!
I love these liners!! I found them at Williams Sonoma when we were in St. Louis and have been saving them for a pretty cupcake occasion!

Until next time, stay warm and eat well!

Saturday, April 23, 2011

One A Penny, Two A Penny....

Yesterday we finally took a day off from rehearsals (as it was Good Friday and the school was closed and all....).  I slept in a little, relaxed, and got some baking done.  A nice day if I do say so myself!  What did I bake you ask? Since it is Easter weekend and all, I decided to make some good old hot cross buns.  I remember my Mom making hot cross buns when I was little and I always loved the mildly spiced soft buns with the icing on top! This really is a nostalgic thing for me. I remember a distinct flavour and texture of these buns.  I have tried other recipes but they just didn't fit the bill. 


Years ago I scanned the recipe from my Mom's Purity cookbook.  It is a coil bound cook book with some real gems in it and still uses some very old fashioned language that I find so very neat. One of my sisters has it now and I couldn't find the scan.  Lucky for me, I actually found a newer re print version of the Purity Cook Book from 1967 last summer in the recycling  hut out at the cabin.  I opened the door to put my recyclables in the hut and found a stack of cookbooks just sitting there waiting for me.  It was just meant to be! 


When I make these, I just somehow feel  a bit closer to my Mom, as though she were back in the kitchen with me. I do miss her more during the holidays and I do find it interesting that something as simple as hot cross buns can help bring back so many memories.
Without further ado, I bring you hot cross buns:

Hot Cross Buns - Printable version

1 cup hot milk
1/3 cup sugar
2 tsp salt
1/3 cup butter
1 tsp sugar
1 pkg  active dry yeast
1/2 cup lukewarm water
1 egg, slightly beaten
1 egg yolk (save the white for the egg wash later)
1 tsp cinnamon
1/2 tsp allspice
1/4 tsp nutmeg
2 1/2 cups flour
2/3 cups raisins or currants
another 2 1/2 to 3 cups flour

In the bowl of your stand mixer using the paddle attachment (or a bowl and use a wooden spoon) place:
  • 2/3 cup of sugar
  • 2 tsp salt
  • 1/3 cup butter, cut into pieces
Heat the milk (original recipe says to scald the milk but I put it in the microwave for 2 minutes).  Pour the hot milk over the sugar, salt, and butter. Mix until the butter melts and the sugar gets mixed in.  Allow this mixture to cool while proofing the yeast.

Now get the yeast working. In a bowl mix together and let it stand for about 10 minutes until all foamy:
  • 1 tsp sugar
  • 1/2 cup lukewarm water
  • 1 pkg dry active yeast (or 2 1/4 tsp dry active yeast)

Add the yeast mixture to the hot milk mixture and stir.
Now add:
  • 1 slightly beaten egg
  • 1 egg yolk
  • 1 tsp cinnamon
  • 1/2 tsp allspice
  • 1/4 tsp nutmeg
  • 2 1/2 cups flour
  • 2/3 cup raisins or currants (I didn't have any so I didn't add any)
Beat until smooth, then switch to the dough hook (if using a stand mixer) and add another 2 1/2 cups to 3 cups flour.


Mix until a soft, smooth, and elastic dough forms this may take about 5 minutes.  If the dough is too sticky, add a bit more flour. 

Turn the dough out onto a lightly floured counter and continue to knead by hand (get that stress out!)

Form the dough into a ball and place it in a lightly greased bowl, turning the ball to coat the dough.  Cover the bowl with a clean tea towel and place in a warm spot to rise until double (about an hour)

Punch the dough down and divide into 2 equal portions, use a scale if you wish to make it really even!  Divide each half into 9 pieces and shape into a flattened bun.


Arrange on a lined baking sheet about 2" apart.  Cover with a clean tea towel and place back in that warm spot to double in size.(about 45 minutes).  This is a good time to pre heat the oven to 400.

Fetch that left over egg white mix in 1 tbsp water.  Brush the tops of the buns with the egg wash.


Using a sharp knife, cut an x (or a cross, a long the top of the bun.


Bake in a preheated 400F oven for 15 to 18 minutes.

Now it is time to make the icing!

Mix together:
  • 3/4 cup icing sugar
  • 1 tbsp hot milk (or water)
  • 1/4 tsp vanilla (or more if you like more vanilla)
Mix well and drizzle over the hot buns, following the cut marks in the buns.

Enjoy!

Until next time, stay warm and eat well!

Thursday, March 10, 2011

What Ever Shall I Do??

I had quite the dilemma in the Little Kitchen tonight.  You really wouldn't believe it, it was just that shocking!!! While icing some lovely cupcakes and baking cookies for Friday, I found myself with extra cookies AND extra icing!!! After about 2 seconds of hard thinking (I didn't want to hurt myself you know) I decided to put the two together.....Ricotta cookies and Swiss meringue butter cream, together at last!  I won't need to eat for the rest of the week....

Ricotta cookie recipe here

Swiss Meringue Butter cream recipe here

Delectable things I tell you!  Here's to a terrific weekend to everyone.....despite the whole 'spring ahead' thing.  I think I really do need that hour....

You know, the Boy has a 6am practice Sunday morning....up at 5 am.....with the whole 'spring ahead' thing happening....that is just mean, even if it is all for the love of baseball!

Until next time, stay warm and eat well!

Friday, February 4, 2011

Oatmeal Raisin Cookies - An Oldie but a Goodie!

Today the temperature actually reached above 0!! Let me tell you, 2 degrees celsius is almost shorts weather after the cold we've been getting!!  I actually wrote this the other day when it was still completely and abolutely frigid outside!

There was a windchill warning today...not a big suprise considering we are in the middle of the prairies...very flat and very conducive to wind.  brrr...although I must admit that I did not leave the house today, at all.  I also 'got dressed' by putting on clean pjs and fuzzy warm socks.  The only other thing this day needs is some cookies!!! This recipe I think originally came from the back of a package of oats.  It is one that I have written down in my book by hand (the old fashioned way) and it has been around for ages but I haven't made them for so long, I have missed them tremendously...

Oatmeal Raisin Cookies
Preheat oven to 350F

  • 1 1/2 cups butter, softened
  • 1 1/2 cups brown sugar
  • 1 cup sugar, granulated
  • 2 eggs
  • 4 tbsp water (or apple juice, or another liquid of your choice)
  • 4 tsp vanilla
  • 1 1/2 cups flour (you can use whole wheat if you'd like)
  • 1 1/2 tsp baking soda
  • 2 tsp cinnamon
  • 6 cups oats
  • 3 cups raisins, soaked in warm water for 10 minutes and drained
     Now get ready to bake!!

    In a large bowl, mix together and set aside:
    • 1 1/2 cups flour
    • 1 1/2 tsp baking soda
    • 2 tsp cinnamon
    • 6 cups oats
    In the bowl of a stand mixer (or in a bowl with a hand mixer, or with a bowl and a wooden spoon) cream together the 1 1/2 cups butter, 1 1/2 cups brown sugar, and 1 cup white sugar until light and fluffy.

    Add the eggs, one at a time, mixing well in between.

    Add the water and vanilla and continue to mix.

    Add the oats and flour mixture one cup at a time.

    Once the oats are mixed in, add the raisins and mix until just combined.

    You may want to chill the dough for an hour or so before baking but I just couldn't wait.  They did spread a little more, but that will just give you a cookie that is a little more crisp.

    Bake 12 - 15 minutes at 350 F until browned.

    This batch turned out both crisp and chewy, which was the exact perfectness in an oatmeal raisin cookie that I was looking for!!


     Until next time, stay warm and eat well!

    Tuesday, February 1, 2011

    Gadgets I Love - The Butter Bell

    I decided I wanted to highlight some of my favourite kitchen gadgets and utensils.  Well, not all at once but every now and then I will write about something I really like in my Little Kitchen space.  Today's gadget of choice is the butter bell. When I first got this a couple of years ago, I had to wait until I was in the USA to find one!  I just couldn't find one anywhere North of the 49th parallel.  Luckily we made the drive to Minneappolis one February long weekend and I found one at the Outlet Mall! So many people go to the outlet malls for clothes...I go for the kitchen stores (and the Rockport store).


    For those who may not know (I mean I only found out these things existed a couple of years ago),  a butter bell allows you to store butter at a nice spreadable room temperature without spoiling.  You fill the bottom crock with cool water so that it will seal out the air when you tip in the bell portion filled with room temperature butter.

    Just remember to change the water every 4 or 5 days to help keep things fresh! (And keep the crumbs out of the butter as well)

    I know margarine is better for you, blah, blah, blah...but we don't use too much butter in the first place, aside from baking and butter just plain tastes better.  All of you nutritionists out there just back off...we don`t use butter everyday so I don`t feel bad using it at all...a little pat is all you need!!
    In case you were wanting to read some more info on the great butter vs margarine debate, here are a couple of links:

    http://www.homemakers.com/health-and-nutrition/nutrition-and-diet/margarine-vs-butter-the-debate-continues/a/27133/1

    http://www.mayoclinic.com/health/butter-vs-margarine/AN00835

    http://www.nlm.nih.gov/medlineplus/ency/article/002114.htm

    The bottom line is neither margarine or butter is really all that good for you.  Which ever one you choose, use it in moderation.

    Until next time, keep warm and eat well!