Showing posts with label chicken. Show all posts

Thursday, July 11, 2013

Supper Central: Meal Assembly 101

Oh my, have things been busy around here.  The Boy graduated high school!!  There was convocation, a dinner and a dance, a limo full of teenagers.... Now that graduation things are over, we had to get the Boy registered for University classes in the fall!  By the way, he earned himself an entrance scholarship!  The last of our excitement is underway as way as well:  the Boy leaves for his Me to We trip to Ecuador!  Wow!


 A while back I had the opportunity to check out Supper Central.  They had teamed up with the Manitoba Chicken Producers to sponsor a meal prep gathering. I had heard about this place but had never been. Supper central is a dinner assembly kitchen. You order your meals, set a day and time to go in, and rotate through the statio stations assembling meals. Here's the neat part: they do all the prep AND the clean up! What's not to love? At the end of the evening you leave with your meals, each one neatly packed in a big zip top bag complete with meat, grain or pasta, and veggie.


Packing your meal couldn't be easier. Rice and pasta are pre measured into baggies, meats are already portioned out into another baggie....seriously.  All you need to do is follow the recipe instructions they provide to add marinade ingredients to the meat, smoosh it up, reseal it and put it into the larger zip top bag.  Now grab your grain or pasta, toss that in, and assemble your last part.  On this meal that was the mango salsa.  In another meal, it was grabbing a Baggie of frozen green beans and adding honey and soy.

As you assemble your meals you can adjust seasonings to your family's liking, we like spicy so I added extra spices accordingly. Supper Central will also provide you with a handy prep card with instructions on how to prepare your meal.

Meals come together quickly and easily. For a busy family or couple, this is a fabulous dinner option.  The chicken and mango salsa were tasty and came together quickly with a quick grill of the chicken, boil the rice and thaw the mango salsa. Everyone in the house enjoyed it.  We got 5 chicken breast with the 'full size' meal. The pieces were quite smaller than I would normally buy when grocery shopping but if you are feeding smaller kids, they are a good size. If you are feeding a giant teen boy, there most likely want be leftovers.


The Quick and Easy:

I am in love with the concept of supper central and will most likely make use of them during busy times. They are organized, clean, and they do the work for you.  The meals are tasty and well thought out as well.

Supper Central is allergy aware with nut free stations, gluten free options and the like.  

They have plenty of single meals pre frozen to store in your freezer and which are great options for singles or people who aren't able to cook.

Supper Central offers a packing service where they will assemble your meals and all you need to do is to pick them up.

If their meals seem pricey, think about the time component. All the chopping and cleaning pins done for you. You just show up and assemble.

Definitely worth checking out.

Until next time, stay warm and eat well.

Please note that I assembled 2 meals at Supper Central which were generously provided to those in attendance by Manitoba Chicken Producers. Thank you for the opportunity to try out meal assembly. 

Thursday, August 9, 2012

Summer Sipping, Blueberries, and Chicken


Summer is flying by and I am still doing my darndest to keep up with the cooking and baking, picture taking and blogging.  Truth be told, I am taking tons of photos but I am failing at the writing the part....I even took my laptop to the back yard to write but there are so many darn distractions in the yard...you know, the garden, butterflies, naps....that sort of thing....
The distraction of the first ripening tomato in the garden!!!
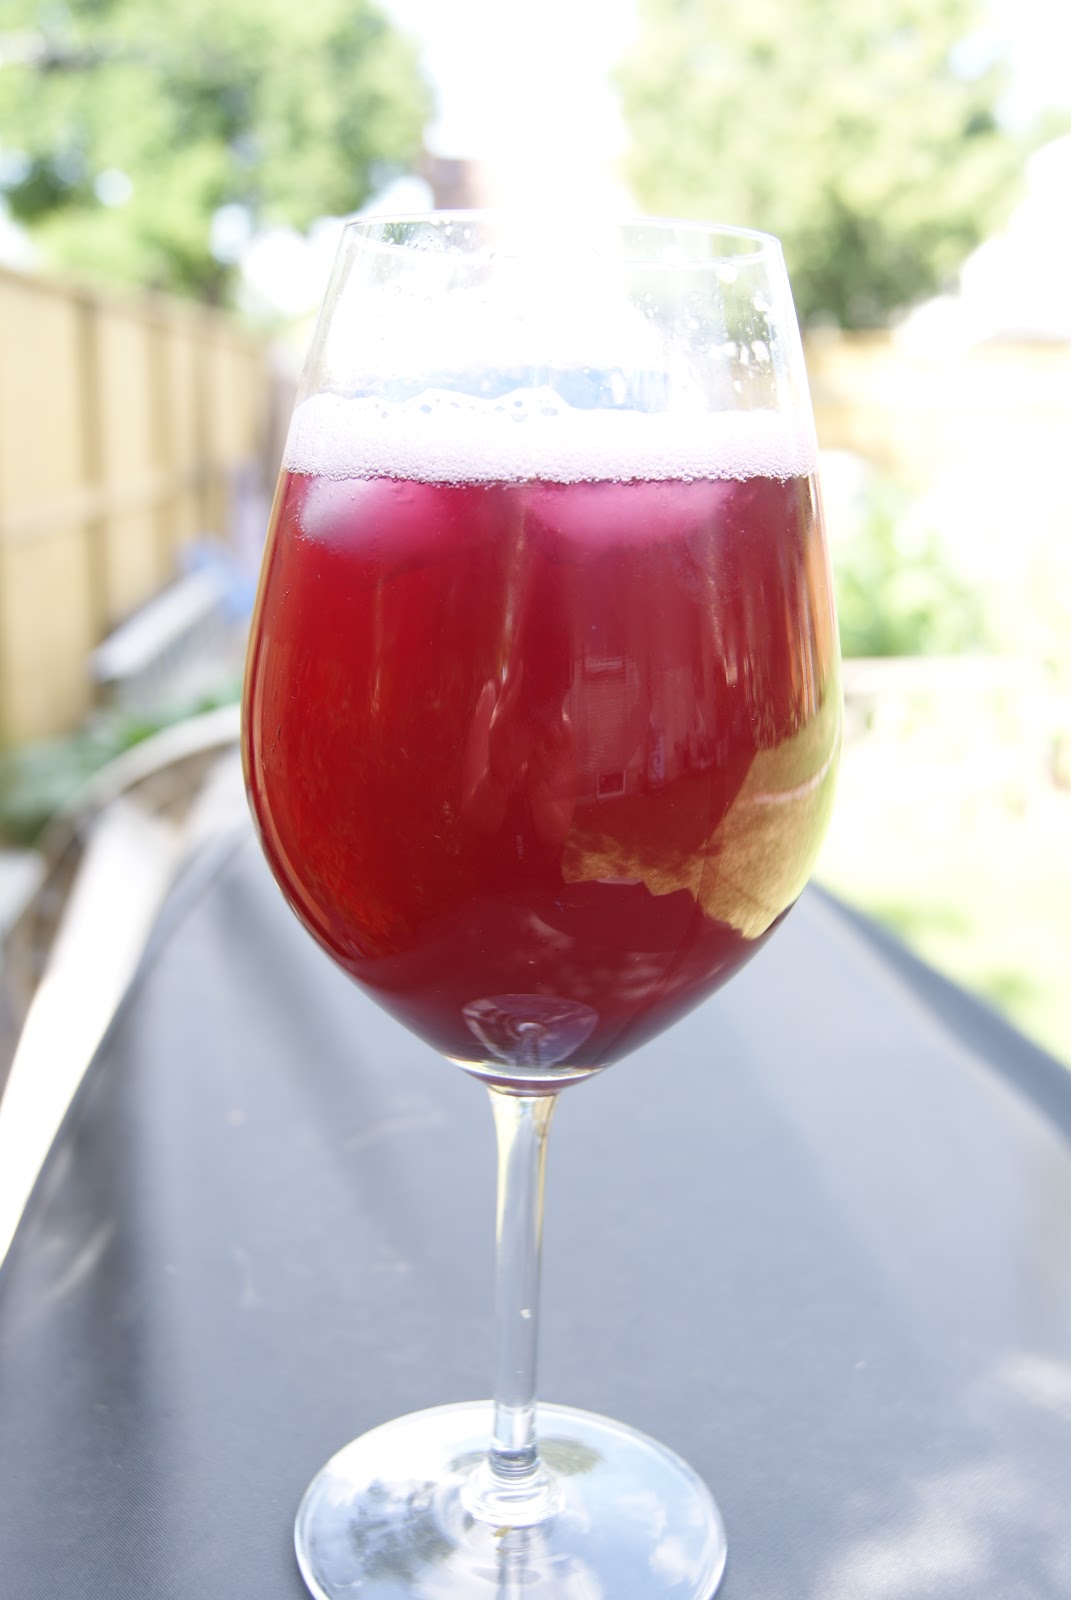
 I am still busy making my own lemon and ginger syrups for tasty summer bevvies (and for some marinades and dressings) but lately  I have tried a new syrup. Blueberry syrup!!! I did some research online for this one and came up with my own concoction that follows the recipe I follow for the lemon syrup. A simple syrup of equal parts sugar and water with the berries tossed in. This one seemed to work for me.


Blueberry syrup

4 cups blueberries (fresh or frozen)
1 1/2 cups water
1 1/2 cups sugar
1 lemon's worth of lemon juice

Put everything in a pot and let it come to a boil. Cook until the berries are popping. I gave the berries a bit of a mashing with a potato masher just to get all the juice out.

Allow everything to cool in the pot then pass through a strainer.  I stirred and mashed the berries in the strainer a bit more then transferred the mashed berries to a jar for use on toast....instant jam!


Store the berry syrup in the fridge.

I found this one required a bit more than 1/3 cup of syrup per can on club soda. It makes a nice fruity soda with a gorgeous colour.

Another use for this syrup:

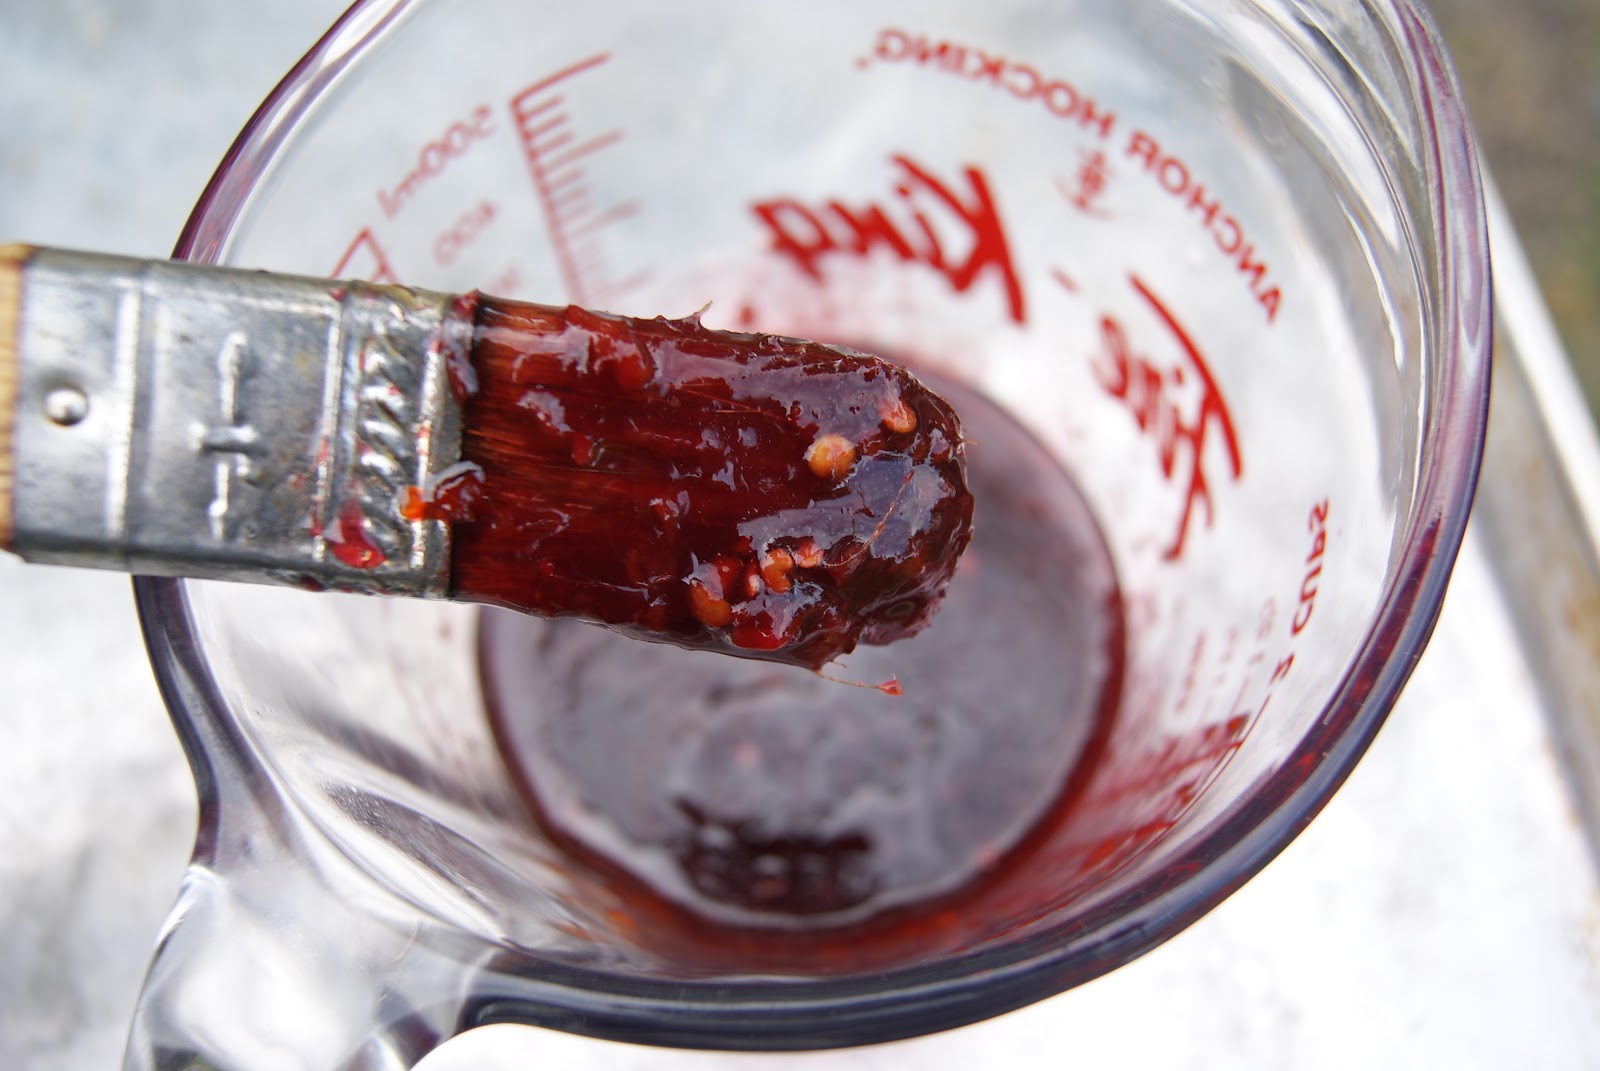
BBQ sauce!!!!!

Mix equal parts chili paste and syrup and brush onto meats on the grill. I used this on chicken tonight and it was absolutely divine, a nice sweetness with heat on the back of the tongue!
I used Sambal oelek for this one.
Until next time, stay warm and eat well!! (and have a drink!)

Sunday, April 15, 2012

Back to Normal (Whatever That Is)


Things just might start returning to normal in the Little Kitchen! First of all, the Boy returned from a fabulous experience in Kenya! It is nice to have him home.
Waiting for his luggage...which can be a dodgy thing with Air Canada these days!
He kept busy while in Kenya!
Learned some new skills
And made some new friends!

I just spent 2 full weeks at the theatre stage managing the school's production of 'Footloose'. (Gotta cut loose....)  130 middle school students working on and offstage to get the show going and I wish I could say it was smooth sailing the entire time.  Some strange stomach bug hit the cast a crew over the past week....yep, you heard me right.  By closing night, I had buckets at every stage exit, extra garbage pails backstage, and spots for the sickies to sit backstage....I really wish I was kidding about this but if I hear one more "Mrs Morton, I feel like I'm going to...."   All in all, most of the kids were real troopers.  Our leads would unleash their fury into the pail, then make it out for their entrance...seriously. The kids did a great job of not letting the audience knowing what was going on backstage.

I have now had the weekend to recuperate, rest, and get back into the kitchen. I even baked Irish car bomb cupcakes and strawberry pistachio cheesecake for a friend's birthday! I have been wanting to break open the bag of Manitoba Harvest's Hemp hearts for sometime now and today I was itching to try something new.
Hemp Hearts are perfect for sprinkling on anything from yogurt, to salads, to baked goods and add some fantastic nutrients to your food. They add a pleasant nutty taste to the food you add it to.

Tonight I decided to use the hemp hearts on chicken breasts.


 I mixed about 3/4 cup hemp hearts with about 3 tbsp of myzithura cheese.(a Greek sheep's milk cheese).

After sprinkling the chicken breasts with salt and pepper, I spooned on the hemp hearts/cheese mixture and patted it down.
Bake in a 350 degree oven for about 25 minutes.  That's it.  That's all.  Friggen' tasty!


Served with roasted asparagus and yam fries!
Until next time, eat well and stay warm

Monday, February 27, 2012

Wholey Chicken Wings Batman!

Chicken wings are a favourite in the Little Kitchen.  I make chicken wings more often than I write about.  If I actually wrote about chicken wings as often as the boys actually eat chicken wings then this blog would be called "Little Wing on the Prairie".  I kid you not....wings are no joking matter.


We are making the effort to be more healthy lately so when it came time to dredge the wings in flour, I reached for the whole wheat flour instead. The boys claim that these wings were the crispiest wings ever...even better than the other wing recipes I've posted about such as this post, this post, or this post.  Just to make sure it wasn't a fluke, I made these wings again last night with the same crispy baked goodness.  This is another one of those recipes where I didn't really measure too closely on this one.


Crispy Baked Chicken Wings - printable recipe
Big ole package o' wings
  • 1 cup whole wheat flour
  • 1 tbsp dry mustard powder
  • 1 tbsp garlic powder
  • 1 tbsp onion powder
  • 1 tsp kosher salt
  • 1/2 tsp black peper
  • (If you have it on hand, 1 tbsp smoked paprika goes well with this mixture too!)
  • 1 pkg chicken wings and drumettes (This was a Costco size package)
Pre heat the oven to 400 degrees.

Line 2 baking sheets with a sheet of foil and a sheet of parchment paper. I find the wings get crispier on parchment then they do if you use a silpat or silicone sheet liner.

In a large bowl, combine the dry ingredients until well blended.


Rinse the chicken wings with cold water and drain.


Dump the wings into the flour and stir to coat all of the wings. Use your hands or a fork...what ever works to get each wing coated.


Shake the excess flour off the wings.


Spread the wings out on the sheets.  If the wings are too crowded together, they will not crisp properly so make sure to give each of them their space.


Bake for 25 minutes then flip the wings over and rotate the pans.


Bake for another 25 minutes.


Once these wings are done you can douse them with your favourite hot sauce.  (Or any sauce you like)

I opted to toss some of the wings with some Hawaiian black lava sea salt and pepper for the most amazing salt and pepper wings EVER! (If only I had a lemon to zest and add to the salt and pepper....mmmmmm)


 Tasty, tasty, tasty...

Until next time, stay warm and eat well!

Sunday, February 5, 2012

Comfort Food for Finals

Oh my!! Where has the time gone! I cannot keep making excuses for abandoning my blog and my precious readers.  We have been doing our darnedest to get back into the swing of things after the holidays. January has been cold and busy here on the prairies. I have kept up going to the gym 3 to 4 times a week and feel great!!
I miss Hawaii sooooooo much!
Unfortunately my sun kissed glow from my holiday trip to Hawaii has faded. The new freckles stayed though!  We have sort of settled in to a sort of winter routine here. The Boy is busy with all things studying, baseball, and now, drivers' education.  That's right. You heard me. The Boy is learning how to drive....ACK! I can't be old enough for this! He can't be old enough for this! Am I ready for this? I am going to have to be.
This past week was exam week at the high school and while he won't admit it, nerves played a role.  To help get him through,  I made a couple of the Boy's favourites for dinner.  Nothing like a little comfort food to get  you through!  Chicken Fingers and fries.  He asks for homemade chicken fingers every time I buy boneless chicken breasts!  Of course, this can be a messy undertaking because you need to dredge the chicken strips in flour, dip them in egg yolk, and then in the bread crumb mixture but it is so worth the effort!

First start your french fries!! Heat the oven to 400F and scrub 3 large russet potatoes. Line a baking sheet with a layer of tin foil or parchment paper. Cut the potatoes into fry size sticks.  Toss the fries with 2 tbsps oil and sprinkle with seasoning salt. Place the fries in the oven.


Chicken Fingers
  • 3 or 4 boneless, skinless chicken breasts, cut into 4 strips each
  • 3 eggs
  • 1 cup flour, seasoned with salt and pepper
  • 1 cup panko 
  • 1/2 cup grated Parmesan cheese
  • 1 tsp garlic powder
  • 1 tsp onion powder
  • salt and pepper
Take out 3 dishes or pie plates.
In the first dish, toss in the seasoned flour.

In the second dish, beat the eggs.

In the third dish, mix together the panko, Parmesan, garlic powder, onion powder, a big pinch of salt and a healthy grinding of pepper.

Get a baking sheet ready with either parchment paper or a silicone baking sheet.

Now, first all of those strips of chicken need to be dredged in the flour and shaken off.

Next, plunge the flour coated chicken into the beaten eggs and let the excess drip off.

Plunk the drippy chicken into the panko mixture making sure to coat the entire piece of chicken in crumbly goodness.

Place the strips onto the prepared baking sheet and slide it all into the oven with the fries. You can flip the fries over if you want, I never do and things always seem to turn out just fine.

Once the chicken strips are in the oven, everything should be cooked in 25 to 30 minutes.

The fries and strips should both be golden brown when done.

Homemade honey mustard.
  • 1/2 cup mayo
  • 2 tsp mustard
  • 2 tbsp honey
Mix all three ingredients together until thoroughly mixed.

Serve with chicken fingers.

Until next time, stay warm and eat well.


Sunday, November 6, 2011

November Rain, Chicken Noodle Soup & Biscuits


Here we are on November 6 and it is raining on the prairies. Normally I enjoy a rainy day but in November we run the risk of rain turning into ice and snow. Ice and snow tend to leave layers of slippery ice on the streets and sidewalks. Good thing I have a pair of these to wear on my shoes for my walk to work.


I haven't tried these grippers before but I do hope they help.  I do have a tendency to fall and seeing as my ankle is still technically healing from my fall back in June, I am trying to be extra careful! It is a good thing I have these because it just turned to snow out there!!


To help chase this cool rain away I felt the need to make soup and biscuits today. This was one of those days were I started rooting through the kitchen and chopping knowing only that I was making soup and biscuits, just not what kind.  As the I was chopping up the veggies for the soup, a good old fashioned chicken noode soup was taking shape.  As I searched through the kitchen I found everything I needed for chicken noodle soup.  I started out thinking I would make a broccoli cheddar soup, but didn't have enough milk to make both that and the biscuits.

I found cheese, and a jalapeno so I went with my jalapeno and cheese biscuits from this earlier post. I used havarti and cheddar cheeses this time. 

Chicken Noodle Soup

4 cup chicken stock (mine was still frozen so I had to thaw it in the microwave)
2 carrots, cut into coins
2 stalks celery, sliced
1 onion, diced
1/2 red bell pepper, diced
1/2 yellow bell pepper, diced
2 bay leaves
salt and pepper to taste
1 tbsp olive oil
pasta of your choice. (I had a box of spaghetti with just a little bit left in it, so I used that)
2 chicken breasts, cooked and shredded (I found 2 breasts left over from the BBQ the other night!)

While chopping your veggies, heat up your soup pot over medium then add the olive oil.  Saute the onion for a coulple of minutes with a pinch of salt and a pinch of pepper.
Add in the rest of the veggies and conitnue to cook for about 5 minutes.
Add in the bay leaves and the stock.  Put a lid on it and let it simmer for about 10 minutes before adding the raw spaghetti noodles.
After another 10 minutes, when the noodles are cooked, add in the shredded chicken and simmer until it is heated it through.
While the soup is simmering and getting all happy is the time to get the biscuits shaking and baking. I won't bore you with that recipe here but you can click on the link and find it here.


This afternoon we made a batch of hummus for lunches for the week. It was so tasty, we had some with our soup and biscuits. I found the recipe for a Buffalo Wings hummus in the October issue of Food Network Magazine.

Buffalo Wing Hummus
Adapted from Food Network Magazing, October 2011

3 cups chickpeas, rinsed and drained (save 1/2 cup of the liquid)
2 or 3 cloves garlic
1/4 cup lemon juice (I only had limes, so we used lime juice)
1/4 cup tahini (had no tahini, so we left it out)
1 1/2 tsp paprika (we used smoked paprika and loved the taste)
2 tbsp bbq sauce
2 to 3 tbsp cayenne hot sauce (We used Frank's Red Hot)
1 tbsp white vinegar

Put everything in the blender and bend until smooth.  I added about 1/2 cup of water to the mix as it was a bit thick without the tahini.


Until next time, stay warm and eat well.