Showing posts with label spicy. Show all posts

Wednesday, August 14, 2013

Bacon and Beans

Garden season is in full swing. Not only are we getting fantastic veggies from our CSA, I harvested my first ripe tomato from my own garden today and everyday brings in more handfuls of beans.  Today it was the purple pole beans.  They are gorgeous!  Now beans are great for munching on straight from the garden, in fact I watched my friend's 5 year old daughter pack away a bunch of the beans I brought over the other day.  That's how you know they are tasty! There are many ways to prepare fresh beans, that s if they make it in from the garden....

A while back I tried a side dish at a restaurant that was called 'firecracker beans'.  It was basically over cooked beans with limp bacon and no spice....not too appealing.


Tonight I decided to make my own firecracker beans and boy oh boy were they tasty. There really wasn't too much to it.  My bacon was in the freezer and since I've been doing quite a bit of cooking with it, I unwrapped it and hacked of the end, sliced it up and tossed it in the pan. 

2 slices bacon, sliced
1 big handful of beans
1/2 to 1 tsp hot pepper flakes
Salt and pepper to taste
A large fry pan


 Once the bacon is close to crisp, pop in a good pinch of hot pepper flakes. (If your bacon has left lots of grease, drain enough grease to leave about a tablespoon) Use up to a teaspoon, depending on how spicy you like it.
  Let the flakes heat up a little and add the beans. Sauté the beans for no more than 3 minutes.  You want the beans to still have some snap and not get soggy.

Sprinkle with salt and pepper to taste.

Eat the beans.

Until next time, stay warm and eat well!

Thursday, August 9, 2012

Summer Sipping, Blueberries, and Chicken


Summer is flying by and I am still doing my darndest to keep up with the cooking and baking, picture taking and blogging.  Truth be told, I am taking tons of photos but I am failing at the writing the part....I even took my laptop to the back yard to write but there are so many darn distractions in the yard...you know, the garden, butterflies, naps....that sort of thing....
The distraction of the first ripening tomato in the garden!!!
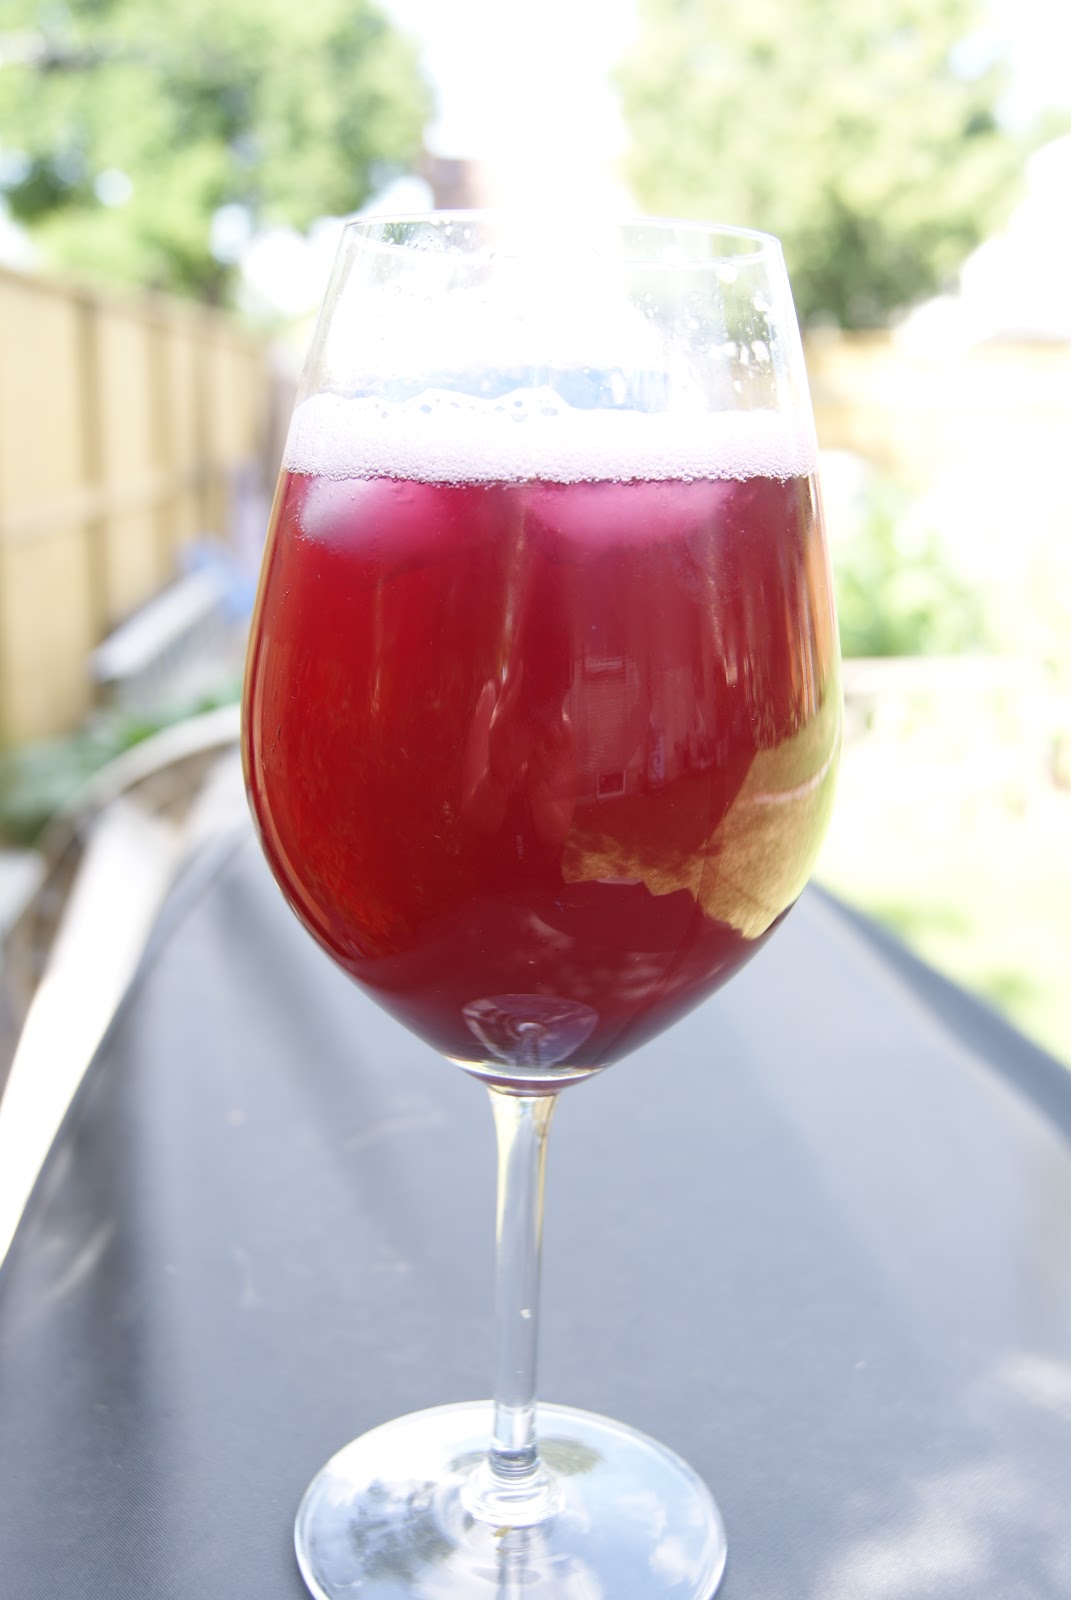
 I am still busy making my own lemon and ginger syrups for tasty summer bevvies (and for some marinades and dressings) but lately  I have tried a new syrup. Blueberry syrup!!! I did some research online for this one and came up with my own concoction that follows the recipe I follow for the lemon syrup. A simple syrup of equal parts sugar and water with the berries tossed in. This one seemed to work for me.


Blueberry syrup

4 cups blueberries (fresh or frozen)
1 1/2 cups water
1 1/2 cups sugar
1 lemon's worth of lemon juice

Put everything in a pot and let it come to a boil. Cook until the berries are popping. I gave the berries a bit of a mashing with a potato masher just to get all the juice out.

Allow everything to cool in the pot then pass through a strainer.  I stirred and mashed the berries in the strainer a bit more then transferred the mashed berries to a jar for use on toast....instant jam!


Store the berry syrup in the fridge.

I found this one required a bit more than 1/3 cup of syrup per can on club soda. It makes a nice fruity soda with a gorgeous colour.

Another use for this syrup:

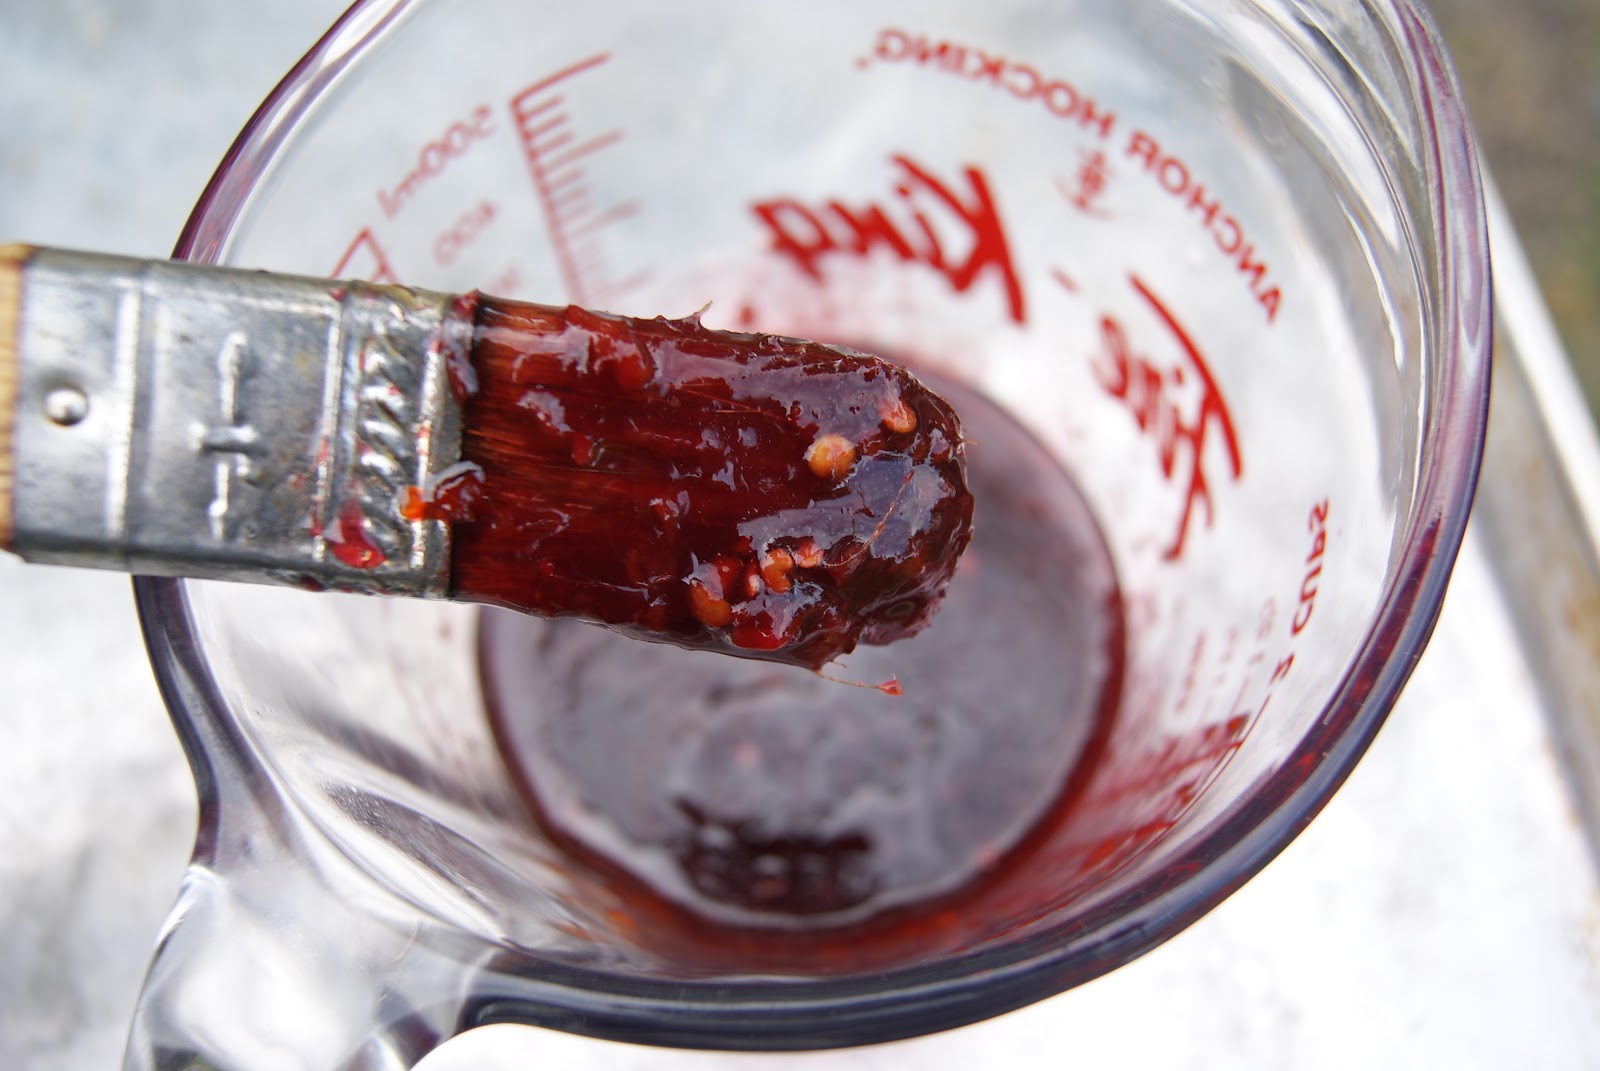
BBQ sauce!!!!!

Mix equal parts chili paste and syrup and brush onto meats on the grill. I used this on chicken tonight and it was absolutely divine, a nice sweetness with heat on the back of the tongue!
I used Sambal oelek for this one.
Until next time, stay warm and eat well!! (and have a drink!)

Sunday, November 6, 2011

November Rain, Chicken Noodle Soup & Biscuits


Here we are on November 6 and it is raining on the prairies. Normally I enjoy a rainy day but in November we run the risk of rain turning into ice and snow. Ice and snow tend to leave layers of slippery ice on the streets and sidewalks. Good thing I have a pair of these to wear on my shoes for my walk to work.


I haven't tried these grippers before but I do hope they help.  I do have a tendency to fall and seeing as my ankle is still technically healing from my fall back in June, I am trying to be extra careful! It is a good thing I have these because it just turned to snow out there!!


To help chase this cool rain away I felt the need to make soup and biscuits today. This was one of those days were I started rooting through the kitchen and chopping knowing only that I was making soup and biscuits, just not what kind.  As the I was chopping up the veggies for the soup, a good old fashioned chicken noode soup was taking shape.  As I searched through the kitchen I found everything I needed for chicken noodle soup.  I started out thinking I would make a broccoli cheddar soup, but didn't have enough milk to make both that and the biscuits.

I found cheese, and a jalapeno so I went with my jalapeno and cheese biscuits from this earlier post. I used havarti and cheddar cheeses this time. 

Chicken Noodle Soup

4 cup chicken stock (mine was still frozen so I had to thaw it in the microwave)
2 carrots, cut into coins
2 stalks celery, sliced
1 onion, diced
1/2 red bell pepper, diced
1/2 yellow bell pepper, diced
2 bay leaves
salt and pepper to taste
1 tbsp olive oil
pasta of your choice. (I had a box of spaghetti with just a little bit left in it, so I used that)
2 chicken breasts, cooked and shredded (I found 2 breasts left over from the BBQ the other night!)

While chopping your veggies, heat up your soup pot over medium then add the olive oil.  Saute the onion for a coulple of minutes with a pinch of salt and a pinch of pepper.
Add in the rest of the veggies and conitnue to cook for about 5 minutes.
Add in the bay leaves and the stock.  Put a lid on it and let it simmer for about 10 minutes before adding the raw spaghetti noodles.
After another 10 minutes, when the noodles are cooked, add in the shredded chicken and simmer until it is heated it through.
While the soup is simmering and getting all happy is the time to get the biscuits shaking and baking. I won't bore you with that recipe here but you can click on the link and find it here.


This afternoon we made a batch of hummus for lunches for the week. It was so tasty, we had some with our soup and biscuits. I found the recipe for a Buffalo Wings hummus in the October issue of Food Network Magazine.

Buffalo Wing Hummus
Adapted from Food Network Magazing, October 2011

3 cups chickpeas, rinsed and drained (save 1/2 cup of the liquid)
2 or 3 cloves garlic
1/4 cup lemon juice (I only had limes, so we used lime juice)
1/4 cup tahini (had no tahini, so we left it out)
1 1/2 tsp paprika (we used smoked paprika and loved the taste)
2 tbsp bbq sauce
2 to 3 tbsp cayenne hot sauce (We used Frank's Red Hot)
1 tbsp white vinegar

Put everything in the blender and bend until smooth.  I added about 1/2 cup of water to the mix as it was a bit thick without the tahini.


Until next time, stay warm and eat well.

Friday, February 11, 2011

Spice Up Your Night

Not only does the Little Kitchen have a weakness for bacon, it also has a weakness for all things chicken wings! After our disappointment in the heat department with the Sriacha glazed wings, we went all out with the wing recipe from the Jan/Feb edition of Food Network magazine. This recipe consisted of a marinade, a rub, and a glaze...three levels of spicy, tasty goodness...lets have a go, shall we?
There are three steps to getting these wings spicy. The first step is the marinade, the second is the rub/spices, and the third is the glaze for the last little bit of cooking. These layers make for a very flavourful and mighty spicy wing!! If there happen to be leftovers, they get a little bit more spicy the next day!!

Chile Rubbed Wings
From Food Network Magazine, Jan/Feb 2011

First make the marinade so you can give the wings plenty of time to get all happy in the fridge!
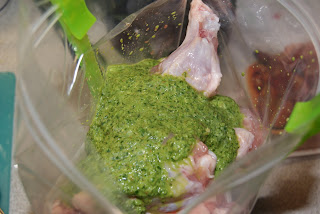
In a blender or food processor, place:
  • 1/2 cup cilantro
  • 2 jalapenos
  • 1/4 tsp cayenne (okay, so I used a little bit more)
  • juice of 1 lime
  • 1 1/2 tbsp oil
Give it a whirl until all chopped and blended.

Put wings in a zip top bag, pour the marinade over, seal the bag and mush it around until all the wings are coated.


Park the wings in the fridge for at least 2 hours.

Make the rub!

In a bowl, mix together the following spices:
  • 1 1/2 tbsp ancho chile powder ( I couldn't find ancho chile powder so I used a package labled hot chile powder...just no smokiness)
  • 1 1/2 tsp ground cumin
  • 1 1/2 tsp ground coriander
  • 1 tsp salt
  • 3/4 tsp fresh cracked black pepper

To make this easy, I dumped the wings from the bag into the bowl with the rub. I then used my hands to mix it all up and evenly distribute the rub.

Spread out on a parchment lined baking sheet.

Bake at 450F for 20 minutes, flip the wings over and bake for another 20 minutes or until crispy.

In a large bowl, mix together: (ok, I mixed this in a small bowl, then poured it over so I wound up messing up 2 bowls...oops)
  • 1/4 cup sriracha sauce
  • 1/4 cup honey

Place the hot wings into the bowl and mix it up so that all of the wings are coated in this sweet and spicy goodness.

Place the wings back on the baking sheet and bake until crispy and sticky...you can broil them until crisp if you'd like.

Enjoy with something cooling such as veggies, chips, or milk...these were quite warm!!


Serve these tasty little wings of spicy goodness with some fresh veggie and dip to help cool the mouth...if you need..

Until next time, stay warm and eat well!!