Showing posts with label birthdays. Show all posts

Sunday, December 11, 2011

Cake, Cake, and More Cake

Hi everyone! Is it really December 11 already? Oh my how time flies when you are busy. I think we are now officially past the busy birthday season in the Little Kitchen.  I have been making cakes this fall and it has kept me out of trouble...well almost out of trouble. :)

Since September, I have made 3 cakes for 3 special birthdays! My friend Allison's son had a birthday back in September. Her son is kind of like me and is a Star Wars nut soooooo he got this cake for his birthday:

I found some neat Yoda cakes online and did the best I could with what I knew I could do. I want to try this one again.

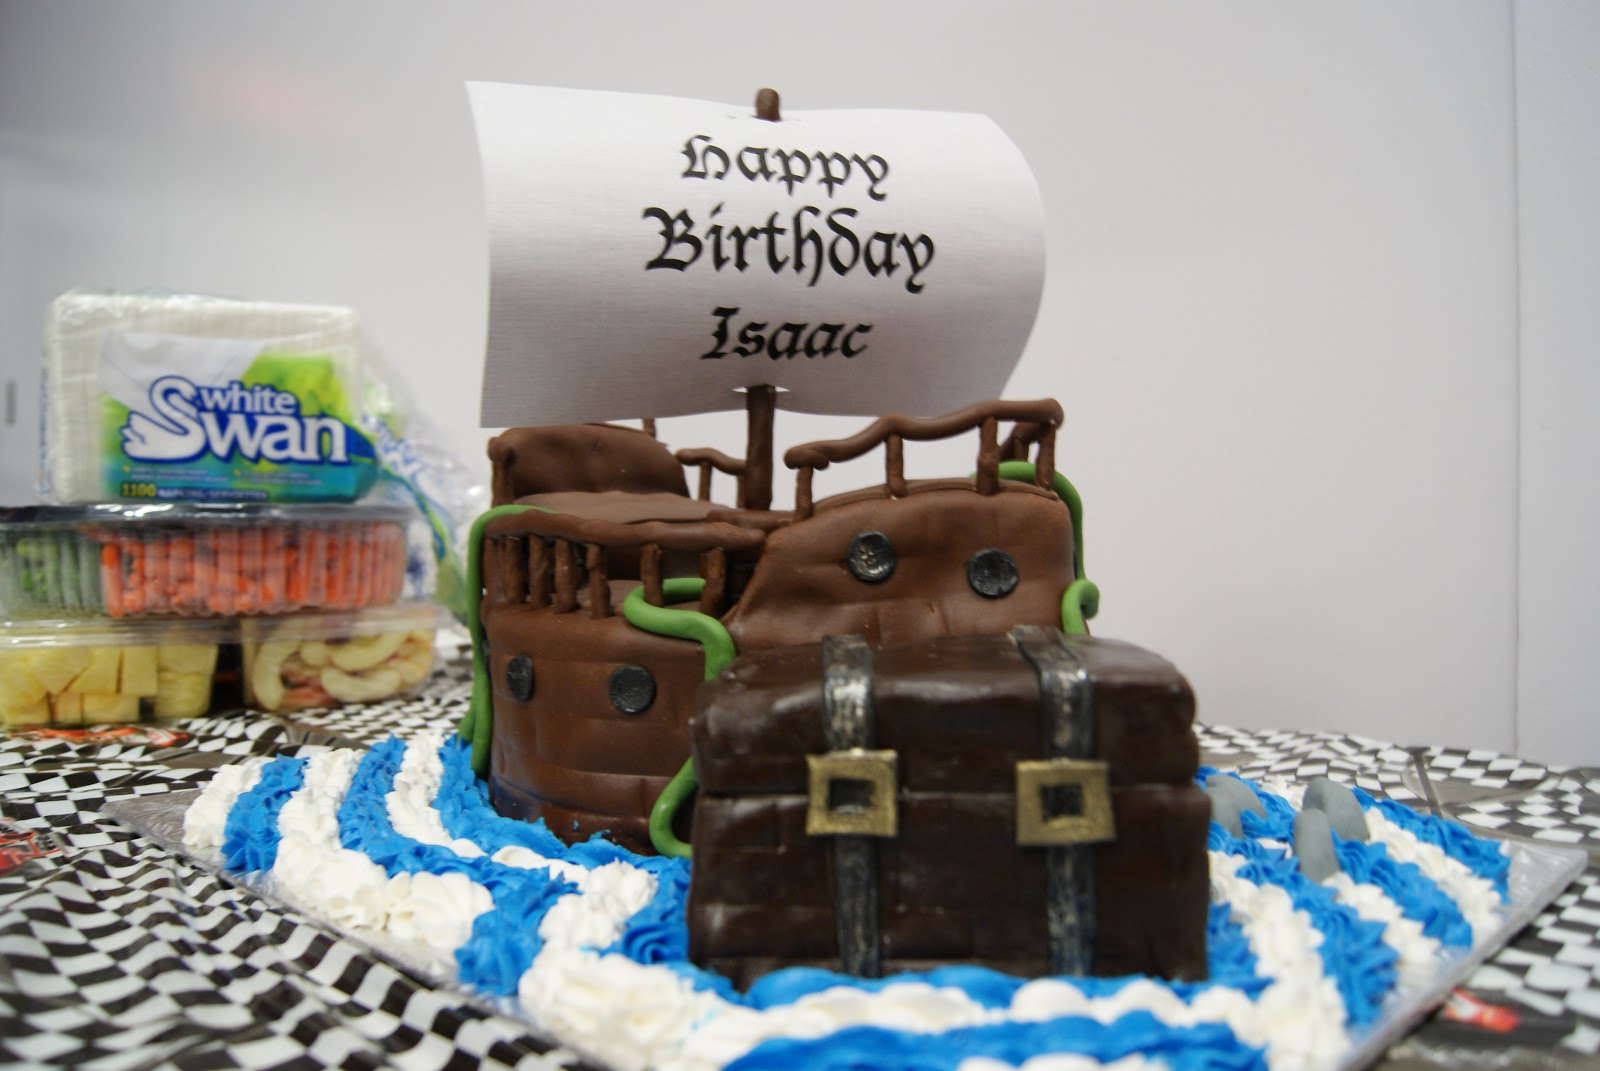
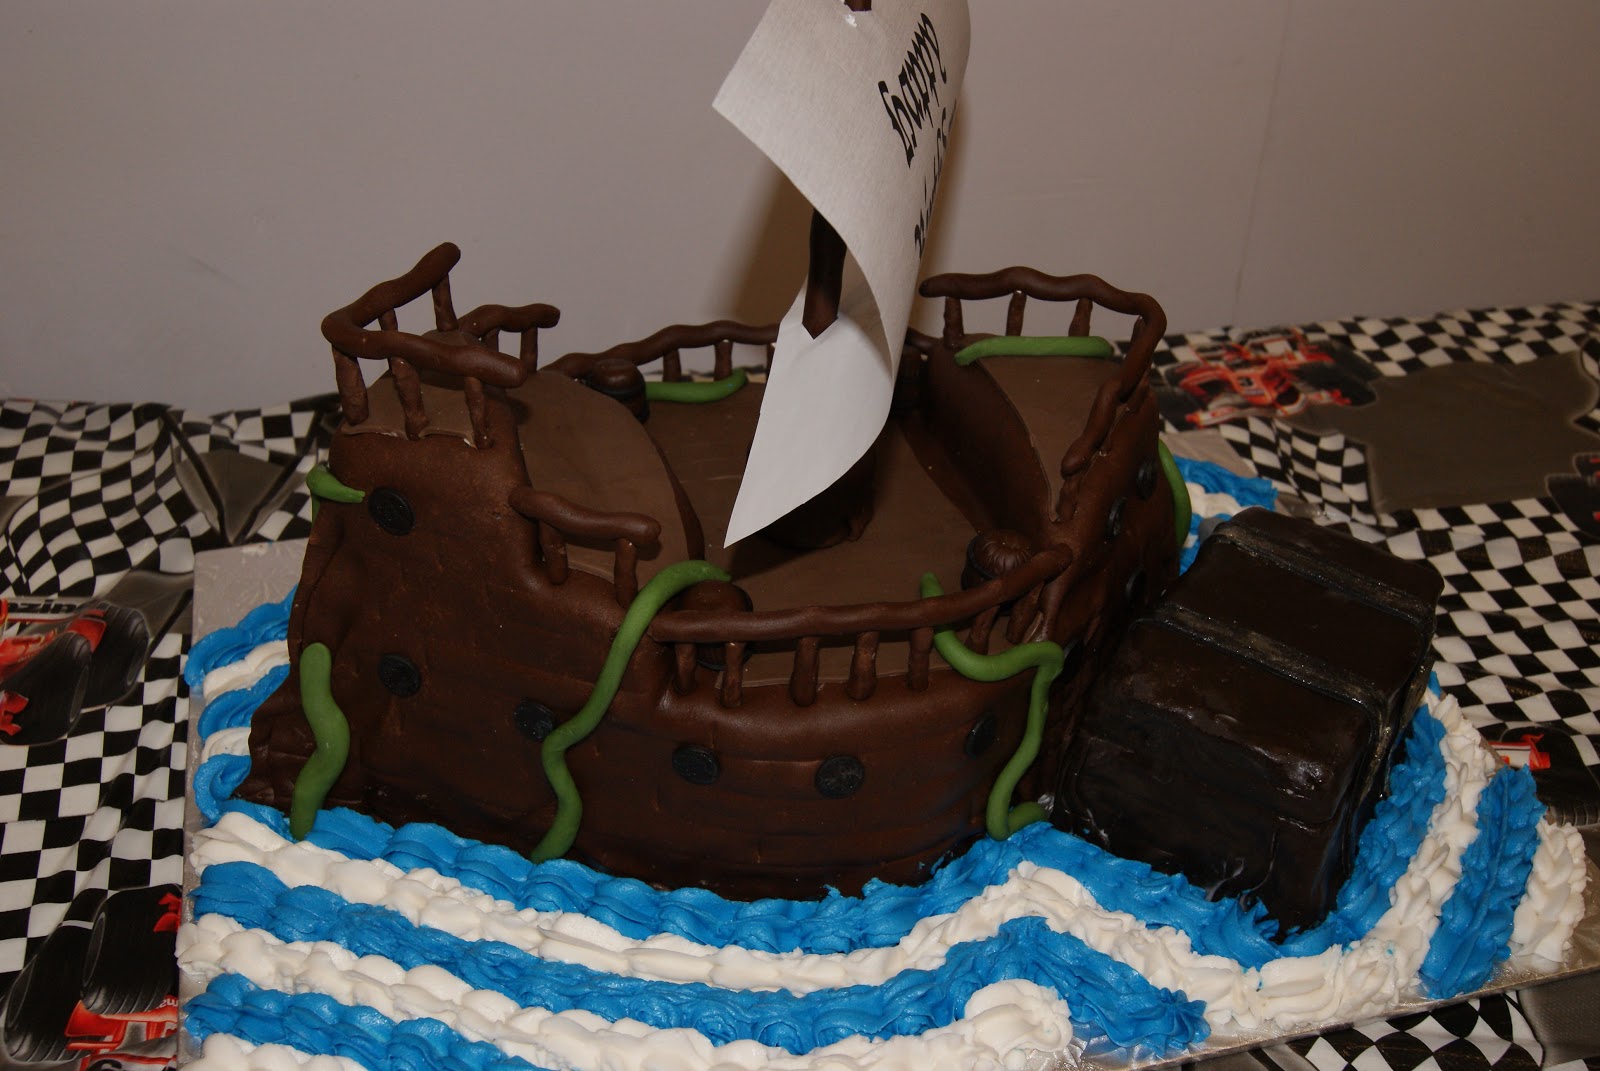
Then Nephew's birthday was last week.  He has been on a pirate bender so he asked for and got this:


For this pirate cake, I searched for pirate ship cakes online but ultimately did this one on the fly with my own drawings.

Today my friend John-Luke's son celebrated a birthday and being only 1 he loves Elmo so....


Full instructions on how to make the Elmo cake can be found here.


Well, I do hope to be able to make a post or two in the next little while but with this busy season, I make no guarantees.  In case a I miss the chance, I wish everyone a safe and happy holiday season this year.

Until next time, stay warm and eat well!

Saturday, May 14, 2011

Plants vs Zombies Cake

Today was a great day! The sun was shining, I got to spend some time in the garden, and I delivered the Plants vs. Zombies cake!! This cake was so much fun to make. I even found myself giggling as the characters came together.  I really don't have pictures or directions for the characters but I made them from fondant (marshmallow fondant)  and basically just played around until I got what I thought looked great.  I also had lots of 'artistic direction' from the Boy and Hubby as they play this game and know more about the characters than I do.
The cake is my favourite devil's food cake recipe and the rest is just a lot of fun!  I hope the birthday boy enjoyed his cake!

Here are the characters I made to put on the cake.


Here's the cake for the characters to rest on!


And the cake all put together!!


Sooooo much fun!!

Saturday, January 8, 2011

The Monster (Truck) of all Cakes


Ok, so I have not only gone back to work, this week and have had to get up way too early for my liking but have been working on the cake my 5 year old nephew asked me to make for his birthday party....The monster truck cake! (This has been the fun part of my week) I have been a little to busy to do too much blogging. I must admit to fretting a bit about this cake. At one point I even wondered if I could get it done. Then I got in the zone and things really got rolling! I used my favourite devil's food chocolate recipe as it makes enough that I only have to use one batch (and it is just so darn yummy!).

Making my own marshmallow fondant is so much cheaper and as Trina always insists, it tastes better than the store bought stuff. I did have to buy some store bought fondant as I needed black fondant and I just don't have that much colouring to make black fondant myself so I did need a little help in that department. The marshmallow fondant does need to rest a bit after you make it and before you use it on the cake so make this before you start.

I will not lie to you, making a cake like this takes planning and a lot of work. I made a few diagrams in my note book, I write down ideas and suggestions from others about details and materials...I think about it while I sleep, while I eat...you get the idea. I also have to figure out the logistics in regards to my little kitchen space. This includes things like setting up the table along the one wall, putting other items in the basement and out of the way and making sure there is a good supply of food that is easily prepared or microwavable since my stove top becomes a work space!

I baked the cakes in smaller foil pans that I found at the grocery store. I must have stood in that aisle forever playing around with the pans asking my son "does this look like it would make a truck?" I think he said yes just so we could leave the store.
I used some small rectangular pans and the mini loaf pans. There was also enough batter to make 12 cupcakes.

Once they were cooled and wrapped in plastic wrap I was able to play with them a little to see how things would look.

The cakes needed some trimming to flatten and even the cakes out.
Cakes needed to be lined up and fit well with each other so take your time to get them fitting together properly.

Now for some reason, I don't seem to have pictures of the icing process...I was 'in the zone' and didn't want to get icing on my camera.
Before you start, you will want to get a cake board ready that will be the size of your truck and will support the full weight of the cake. I bought a pack of cardboard cake boards at the craft store, folded it in half to give more support and cut it down to the size of the cake. The board was then wrapped in foil. A small bit of icing on the board will help anchor the cake.

Now put a good layer of icing between the layers to glue them together. Icing really is the glue that holds it all together. Once the truck base and the cab are all iced together, put a layer of icing all over the cake. This is a crumb coat that keeps the crumbs on the cake as well as the fondant.

Isaac's colour of choice for his special cake was green so I kneaded some (ok, quite a bit) green colouring gel into the fondant.

Marshmallow fondant rolls out nice and easy (almost like play-dough!). Carefully lay the fondant over the cake making sure to press gently to get it to stick to the icing. This fondant is so forgiving. It stretches a little and tears less than the store bought kind so you can manouever it to get the fondant in the right spot.
A lot of planning also goes into the decorations and details of the cake. A monster truck requires decals, exhaust pipes, a grill, lights.....the whole nine yards. These can be rolled and cut out with a paring knife before hand.

The rest is really just thinking and coming up with ideas for how to make the decorations...some internet research and pictures of monster trucks also helps!!

The shapes of fondant are adhered with a light brush of water!

The cross bars are black fondant rolled around a wooden skewer.

The flood lights are mini marshmallows.

The shapes I cut using the Cricut cake cutter.

Toothpicks are also helpful to attach decorations.


This is the base of the cake...the plastic cups will support the truck and the cupcakes are boulders.

The boulders (cupcakes) will be iced over before being covered in fondant.

When I made my second batch of fondant I added brown colouring gel to the marshmallows.
Let me assure you that brown melted marshmallows do not look pretty!


I covered the base in sections rather than attempting to roll out one giant piece of fondant.

The edges can be pressed together and covered up quite easily.

Move the fondant around to where you want it to sit.


Place the truck carefully on the cups and make sure they are stable.

The wheels are crullers we picked up at Tim Horton's (how Canadian of us).
The donuts were then sprayed with the black Wilton food spray can.

Tooth picks were used to secure the wheels


The pipes were made with black fondant rolled around a skewer for stability

The exhaust pipes, crossbars and writing were added last....Now ready for transport on bumpy winter roads....


Graham cracker crumbs were added after delivery to make more dirt and help cover the seams.


I really like the skull shaped boulder at the front!

This cake was so much fun to make. I really loved the phone call from my nephew after the party thanking me for the cake!


The birthday boy with his chocolate cake grin!


Nooooo!!! Don't cut my cake!!!
Before cutting, make sure to remove the toothpicks
and such so no one eats them.


Marshmallow fondant:

1 lb mini marshmallows
2 lbs icing sugar
1/4 to 1/2 cup shortening
2 tbsp water

Place the shortening on a small plate so you can easily get at it and grease up your counter top.

Dump most of the icing sugar on the greased up counter and make a well in the middle.

Put mini marshmallows into a microwave safe bowl with the water. Microwave in 30 second increments, stirring after each one until the marshmallows are completely melted. Add colourings and flavours if you wish to at this time, otherwise you can knead these in after.

Pour the melted marshmallow into the well and start folding the sugar in a little at a time. Remember to grease up your hands first with some shortening! Keep kneading and adding icing sugar until the fondant is no longer sticky. Wrap the fondant in plastic wrap and let it rest. Some people say to let it rest overnight but I have used it after only a 1/2 hour rest.

And now Episode 2 of Little Kitchen On The Prairie - Making Fondant:


Saturday, December 4, 2010

Heavenly Devil's Food Chocolatey Goodness


Tonight my son is having his buddies over to celebrate his birthday.  I'm not sure if 15 year old boys officially call it a birthday party, but there is a room full of teen age boys playing video games and eating tons of food in my house.  I didn't make a huge shaped or a really fancy cake this time since I made the baseball cake last weekend.  My son and I decided to go with devil's food chocolate cupcakes with cream cheese icing.  Devil's food chocolate cake just happen to be one of my favourite types of cake.  I have tested this recipe with different ratios of butter and oil for maximum tastiness and moistness.  Ultimately this family favourite has been adapted from Martha Stewart.  As usual this recipe has been doubled to produce maximum chocolatey goodness.  These little bundles of chocolatey goodness just happened to be served at my friend's wedding with rave reviews.  I have also made them for the wedding of a friend's son, also to rave reviews.

Devil’s food cupcakes
Shopping and prep list
Yield: Approximately 60 cupcakes
  • 1 ½ cups Cocoa powder
  • 1 ½ cups Hot water
  • 6 cups Flour
  • 2 tsp Baking soda
  • 2 tsp Baking powder
  • 2 ½ Salt
  • 2 cups Butter
  • ¾ cup Canola oil
  • 4 ½ cups Sugar
  • 2 tbsp plus 2 tsp Vanilla
  • 8 Eggs
  • 2 cups Sour cream, full fat

Devil’s food cupcakes

this mixture will be smooth like chocolate but won't taste like chocolate!
In a bowl whisk together until smooth:
  • 1 ½ cups cocoa powder
  • 1 ½ cups hot water
Mix in another bowl: 
  • 6 cups flour 
  • 2 tsp baking soda
  • 2 tsp baking powder  
  • 2 ½ tsp salt
·         
Melt together:
  • 2 cups butter
  • ¾ cup canola oil
  • 4 ½ cups sugar
Beat the sugar/butter/oil mixture in the bowl of stand mixer until cooled (about 5 minutes).  When you first start mixing the sugar, oil, butter mixture it will look like this:
The start of mixing


After a good 5 minutes of mixing, it will turn a nice, pale yellow colour and will look more like this:

After 5 minutes of mixing


Adding the chocolate mixture after the eggs and vannilla
Add to the bowl of the stand mixer:

  • 8 eggs, one at a time until blended
  • 2 tbsp plus 2 tsp vanilla 
  • Chocolate and water mixture you made before
·   Beat until well blended then alternate the additions of:
  • 2 cups sour cream, full fat
the last of the flour
with additions of:
  • the flour mixture until both are gone (about 3 additions of each)
Scoop into lined cupcake pans and bake at 35o degrees F for about 20 minutes.


Once the cupcakes are cool it is time to ice them.  We just can't have plain ol' chocolate cupcakes now can we? I  have been looking for a recipe for cream cheese frosting for a while. Some research dug up many different ratios of cream cheese to butter and icing sugar.  I browsed for a while before adapting what I found to suit my needs. (each set of underlined words leads to a cream cheese frosting recipe)


Cream cheese frosting

In the bowl of your mixer, blend together until smooth:
  • 1 brick cream cheese, softened
  • 1/2 cup butter, softened
Once the cream cheese and the butter are well mixed and smooth, add and continue to mix:
  • 2 tbsp milk
  • 1 tsp vanilla
When the milk and vanilla are will mixed in, add 1 cup at a time, mixing thouroghly after each addition
  • 4 1/2 cups icing sugar
Frost your cupcakes as you please!  I like to use a piping bag with a large star tip on it for nice swirls of icing!


Thursday, December 2, 2010

Hot Diggity Dog Cake....More Cake Walking: A bonus post!

Ok, it is Thursday night already and I just couldn't wait to share more cake.  This one was especially fun to make!! This cake was my first ever shaped cake!  Hubby asked me if I thought I could make a hot dog shaped cake for his boss's birthday.  They have a tradition at his work where they go to Costco for hot dogs for lunch.  The request for this cake was to have his boss's favourite hot dog toppings.  This cake took planning, drawings, and some research...by research I mean watching "Ace of Cakes".   My biggest fear for this cake was delivery...would it hold up or fall apart?  It all held together and I am told everyone enjoyed the cake.

the 'naked dog'


One of my challenges was getting the fondant icing colours the right shade.  It was also fun to mix and knead the fondant and play with the colours.

The 'bun' was actuall y2 cakes that I baked in loaf pans.  I turned the loaves on their sides with the bottoms together and cut out the notch to rest the wiener.

The weiner was actually 3 twinkies with ends trimmed and iced together, then rolled in fondant.

I continued to play with fondant colours so I could make the different toppings.  This was actually a lot of fun attempting to make things like pepper rings, ketchup, and relish to top off the giant dog!


The ketchp and mustard were both buttercream icing.

The relish was green icing gel with chopped up yellow and green jelly beans mixed in!


The onions are white chocolate chunks

The Jalapenos and pepper rings are all cut out from fondant.


This cake was fun to make.  I especially enjoy people's reactions to it.  "That's a cake?"

The Cake Walk Continues....

It is no secret that my son loves to play baseball.  He also happens to love the New York Mets.  (Maybe they will win some games this year...*is that a cricket I hear?*   Last year for my son's birthday I attempted my first ever frozen butter cream transfer.  This process involves printing out your image (backwards).  Sounds wierd, I know but this is very important, especially if your image involves words or lettering!!  I must say I do not have photos of this process but the end result was nice and my son LOVED it!

 1. Print out your image (backwards)

2. Tape image onto a board

3. tape a piece of parchment paper securely on top

4. Trace out your image with icing, paying attention to not only the colours you want but also to which details will need to be in the front of the image.  For instance, in this Mets logo, I had to make sure the white bridge was piped before all of the blue in the background.

5.  Freeze your finished piece until it is frozen solid.

6.  Prepare your cake as desired, crumb coat, and ice.

7. Remove your frozen buttercream from the freezer, peel it off the parchment and place on the top of your cake!

8.  The icing will thaw and be ready to cut in no time!

The next time I try this technique, I will pay closer attention to the thickness of the icings.  For the backgrounds I will want to thin the icing out somewhat so it will blend in and I won't have the lines visible.  Perhaps I will also try an easier image!  This was another fun one!

Wednesday, December 1, 2010

Is It Really Just a Cake Walk? Cake week continues...finally!


I know I promised some more cakes this week and I am here to make true on that promise!  I do enjoy baking and sometimes I like to create a bit more of a challenge for myself.  Generally when I like to think about the cake and the design first.  I will draw up some plans or designs so I have somewhat of a template to follow like I did here for a friend's wedding.  I make tracers if I am cutting shapes or letters out of fondant so I can keep things looking similar.


These plans for a sunflower cake. I made the tracers so my petals would be the same size.


I have made some drastic mistakes in my cake trials.  For instance, fondant and ganache just don't seem to mix and you may wind up re-covering a cake when in melts and slides off the cake!
 This one didn't take too long to fix. It was my first major cake attempt.  The end result looked much neater and prettier than the original but let me tell you, I was soooo glad I brought everything from extra icing to all the fondant I had in the colours I though I might need!

Here is the original cake, before the disaster!


And here is the cake re done with white fondant. I think I recovered very well from this one!

 This cake was actually a surprise cake for our friend's wedding in August 2009.  I was asked to make the cupcakes and wanted to have a go at a cake.  The cupcakes were fun to design and to make.  I tested recipes and designs until I found one that we liked (by we I mean the bride!)


In keeping with the bride's love of sunflowers, we went with a sunflower theme for the cupcakes.  I used the pumpkin spice cupcake recipe for these cupcakes.


I do have a confession to make here...I did not make the adorable gumpaste sunflowers...*gasp*!!!  I ordered them from the lovely people at Jeff the chef!  They were well done, well shipped, and well worth it!


The other cupcakes I made for this occasion were devils food cake chocolate.  (Drool)  These ones were dipped in ganache, then had yellow petals piped around the edge.

This really was my first major cupcake/cake attempt and I really did enjoy it!!  I know my co workers and friends greatly enjoyed the tasting that went along with my many trials!  Stay tuned for my next cake post!