Monday, February 21, 2011

Ketchup for Dessert?

Woot woot, long weekend Monday!  Louis Riel long weekend is a relatively new holiday here on the prairies.  Most provinces call this long weekend Monday 'Family day'.  Basically to break up the mundaneness of a long cold winter, the government decided that a long weekend in February would be prudent....personally I would long weekends during cabin season but I will take what I can get!  Louis Riel is considered to be the 'father of Mantioba' and a hero to the Metis people.  I really am not going to give you a long history lesson here but if you would like to read up on it, here are some links:

Mysteries of Canada

Historica Minutes

To make a long story short, Louis Riel led a couple of rebellions, was elected to the Canadian House of Commons while still a fugitive, was tried for high treason, and hung.  There is so much more but this is a food blog, not a history blog and I want to get on with the cake!

I saw the idea for this one on the back of the ketchup bottle.  It directed me to the website for the full recipe and lets just say I was intrigued.  I really had no idea what to think about this one but I knew that I had to make it, just to see if it really worked or if the Heinz company has completely lost it.  The name also threw me for a loop as if it truly is 'The Great Canadian', then why haven't I heard of this one before?  What better way to celebrate a Canadian icon than bake some 'Canadian' cupcakes??

Without further discussion, I bring to you:

The Great Canadian Ketchup Cake (well, cupcakes)
from: Heinz
  •  2 cups all purpose flour
  • 2 tsp baking powder
  • 1 1/2 tsp cinnamon
  • 1 tsp baking soda
  • 1/2 tsp ground nutmeg
  • 1/2 tsp round ginger
  • 1/2 cup ketchup
  • 1/2 cup water
  • 2 tbsp red food colouring
  • 3/4 cup butter, softened
  • 1 1/2 cups packed brown sugar
  • 2 eggs
Pre heat the oven to 350 F.

In a bowl, measure out and stir together the dry ingredients:  the flour, baking soda, baking powder, and the spices.

In another bowl or measuring cup, measure out the water, the ketchup, and the food colouring.

In the bowl of he stand mixer (or a bowl with a hand mixer) cream the butter until fluffy.

Add the brown sugar and continue to beat.

Add the eggs and beat well.

Add the water/ketchup/food colouring mixture and keep beating.

Add the dry ingredients and mix well.

Mix well until everything is well incorporated and the batter is smooth.


Check out that colour!!!

Scoop into lined cupcake pans.

Bake for about 15 to 20 minutes, until the tops spring back when touched.

I do admit to some skepticism on this one...but once the cakes were out of the oven and cooled a bit, I just had to break into one and get the boys to taste it for me (of course I had some too!)

The consensus was that is was really good. I mean down right tasty! These little red cakes taste like a spice cake.  The Boy said it tasted like a pumpkin spice cupcake but without the pumpkin!

Now it is time to talk icing!!  The original recipe calls for a cream cheese icing, which always goes well with a spice cake such as this one but I have been itching to try my hand at some Swiss meringue butter cream so I decided to use that!

I went with the vanilla Swiss meringue butter cream from Annie's Eats as it made a decent amount, but not too much.
Printable recipe
You will need:
  • 5 egg whites
  • 1 cup plus 2 tbsp white sugar
  • 1 lb butter, room temp. and cut into 2 tbsp portions
  • 2 tsp vanilla
  • a double boiler
  • a candy thermometer
  • whisk
Set a pot of water to simmer.  Make sure you have a heat proof bowl that fits over this pot, but not in the water.

Place the sugar and the egg white in the heat proof bowl. I just used the bowl from my stand mixer.

Place the bowl over the simmering water and whisk pretty much constantly.  Use the thermometer to measure the heat.  You only want to heat the  mixture to 160F.  Make sure the sugar has dissolved.

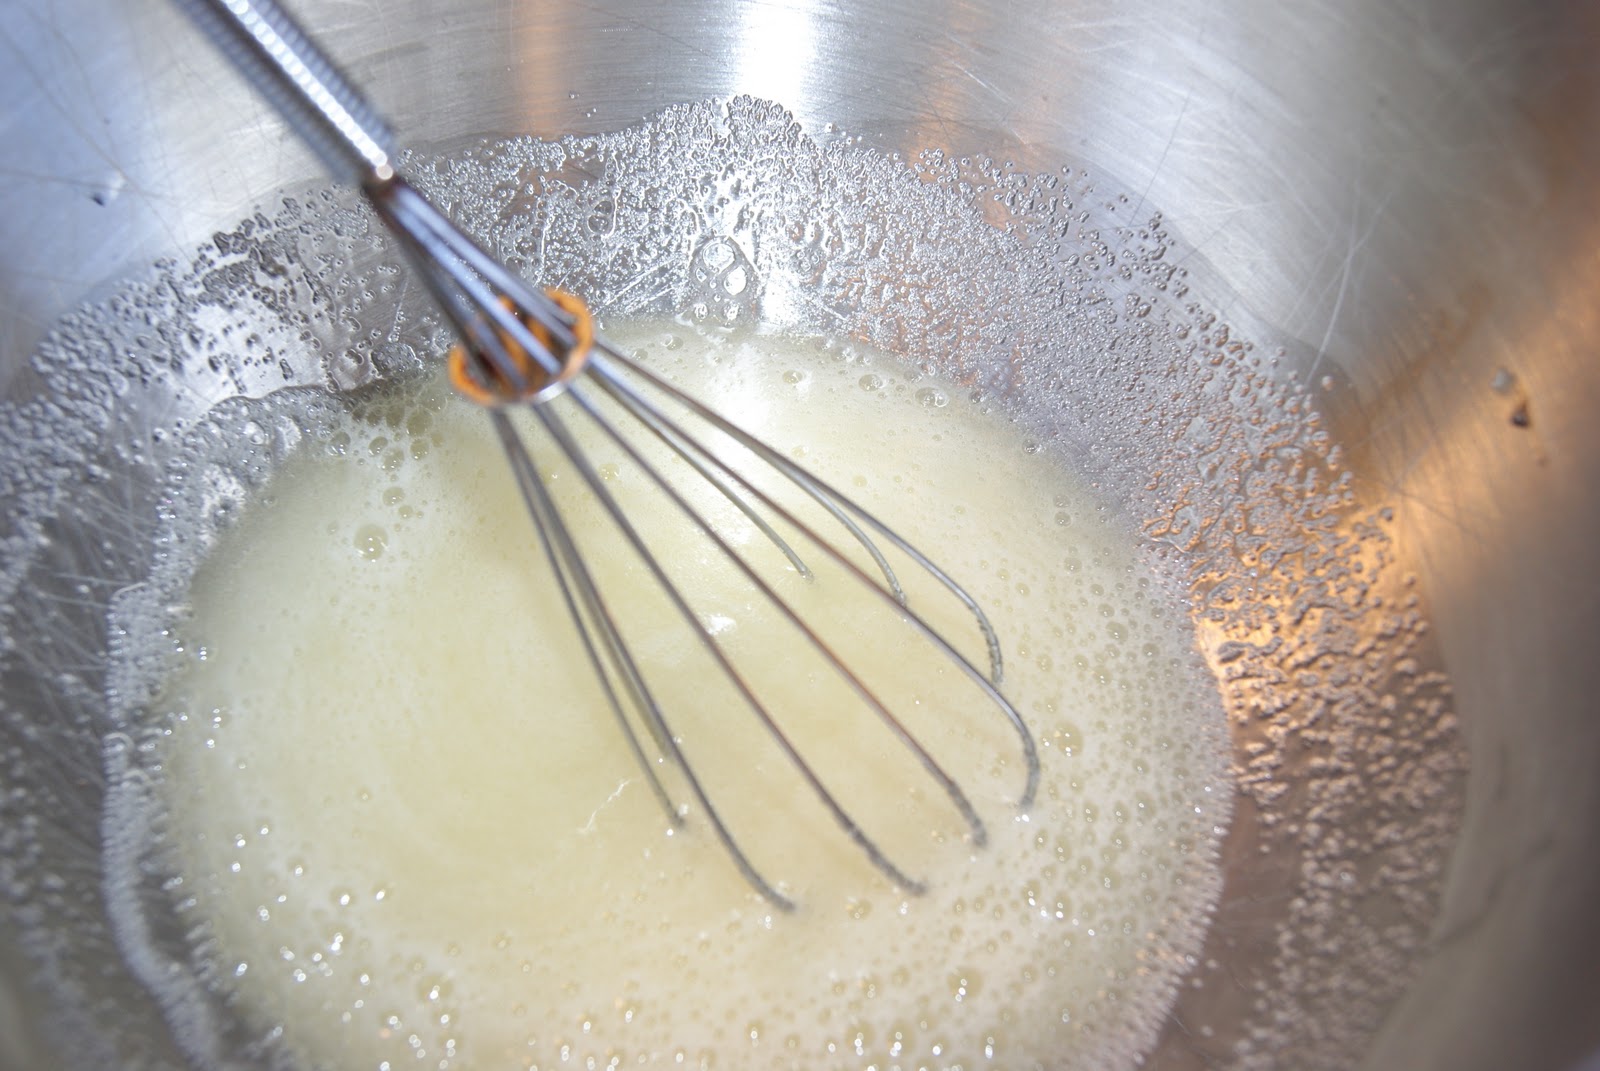
Transfer the mixture to the stand mixer and whisk on med for about 8 to 10 minutes until the whites are are stiff and the mixture has cooled.  You can test the temp. at this point by placing the inside of your wrist on the bottom of the bowl.  The mixture should be room temperature at this point.

Add the butter, one cube at a time, making sure the previous addition has been fully incorporated before adding the next cube.

Sometimes the mixture will look like it is curdling or will turn kind of soupy.  Keep beating.  It just may pull together after all.  If it separates, it may take 5 minutes to come back together.

Add the vanilla (or other flavourings) along with any colouring gel, if wanted and mix to combine.

This is a very silky, smooth icing with a not too sweet taste.

This batch turned out very nicely but alas, I feel the cream cheese icing would have been a better choice here. You can find a great recipe for cream cheese icing here.

Either way, they were pretty darn tasty!!

Until next time, stay warm and eat well!

Sunday, February 20, 2011

Chicken Gnocchi Soup Helps Chase a Cold Away

Here I sit at a Starbucks, sipping my drink and blogging.  The Boy is at baseball practice (inside a nice warm gymnasium).  When he is done with that practice, I will pick him up and take him to another one...such is the life of a baseball mom!  Of course most kids in this neck of the woods play hockey but not the Boy!  I find that I am quite all right with that.  Of course, if he love hockey, I would be all right with that too.  As long as he gets to do something he loves, it is all right by me!  I really didn't get too much done this week in the way of blogging. I was hit head on by one of the nastiest head colds around!!  I will once again be able to sleep without the aid of Nyquil!!

That was one heck of a head cold!!  I am still trying to shake the remains of this nasty cold that hit head on last week...whew!  This one seemed to stop me dead in my tracks!  Last Saturday I felt the beginnings of a sore throat coming one.  I assumed that it was a bout of tonsillitis starting up but alas, it was merely the head cold to end all head colds!  I felt like having some homemade soup!  Soup sounds easy enough, except I still hadn't replaced the goods lost in the great auxiliary fridge debacle!  Yes, that is correct, I still haven't fully recovered from losing auxiliary fridge.  Especially on big grocery shop days when I need a spot to chill things before I can cook and bake my way ready for a new week.

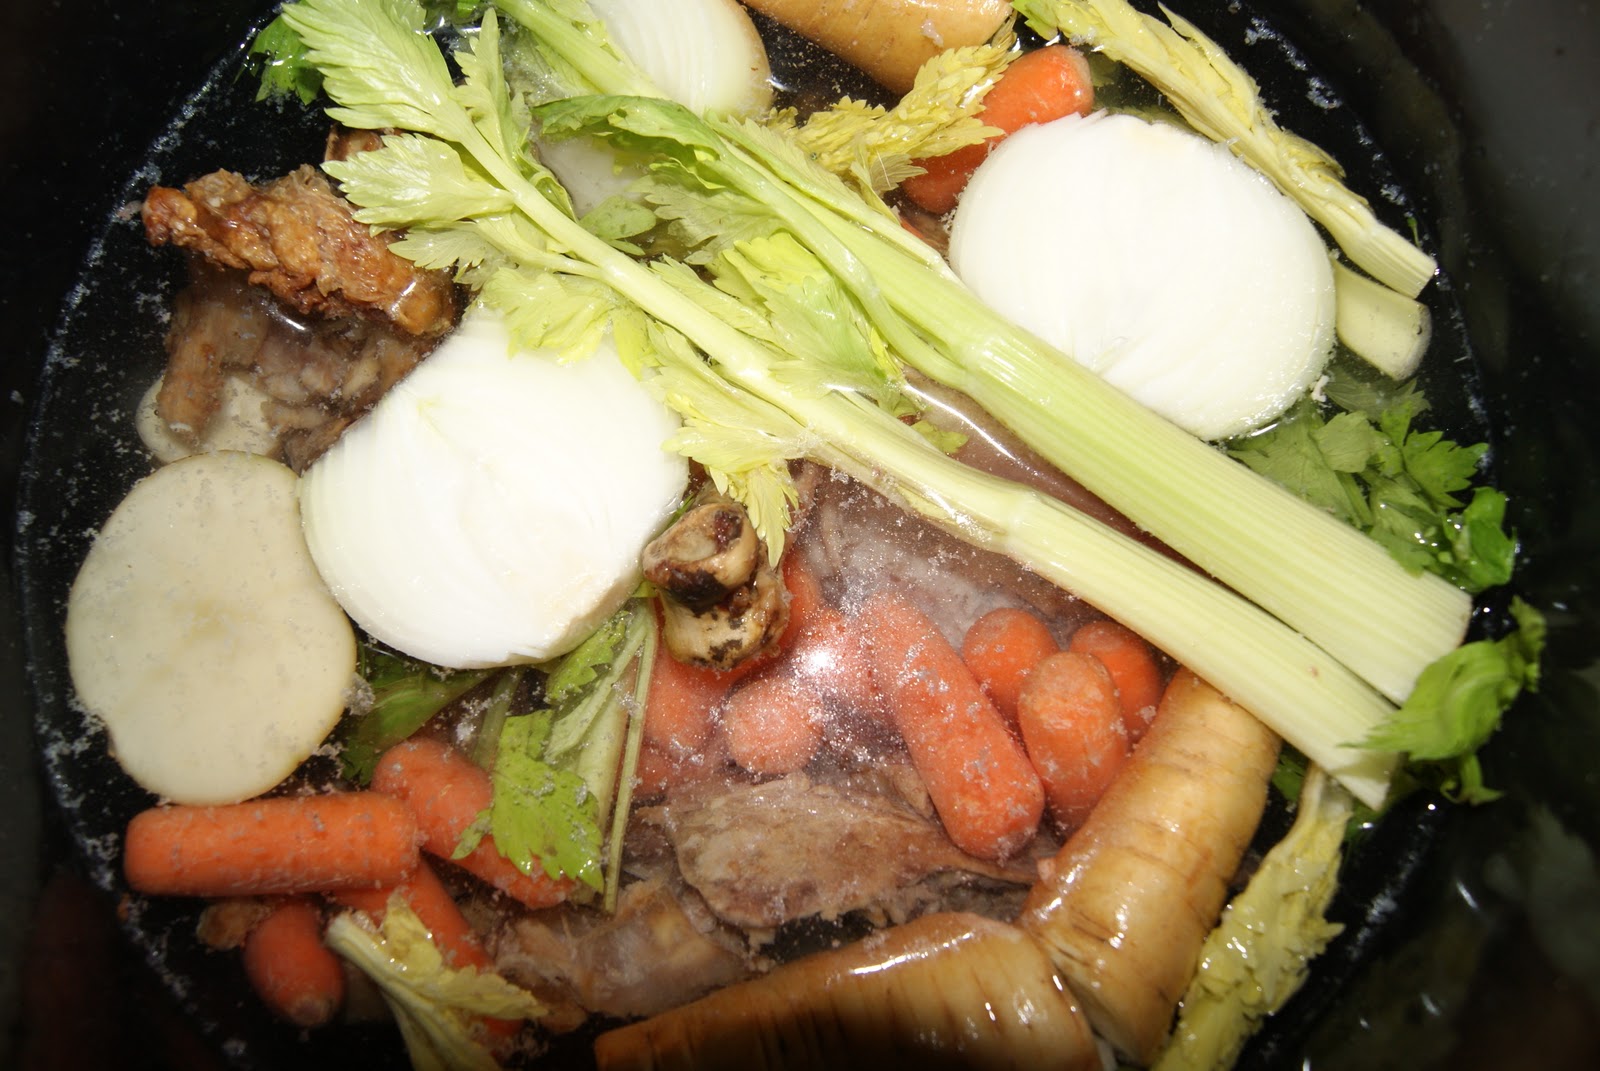
But I digress, where was I? Oh right, I had no homemade stock!  What I did have though was a turkey carcass in the chest freezer left over from Christmas!!!  Along with some salvaged veggies, I had the makings of a homemade stock going on.  This really isn't a difficult thing to make.  I mean as long as you are home anyways, what bother is it to have a ginormous pot of goodness simmering away on the stove?  The basic recipe for a turkey stock can be found here.

Once this luscious pot of goodness is ready, it is just a few more simple steps to make a soup, honest!

Chicken Gnocchi Soup
  • 1 small onion, sliced thin
  • 1 carrot, diced or sliced thin (I sliced some baby carrots)
  • 1 stalk celery, sliced
  • 1/2 cup corn kernels (I used frozen corn)
  • roasted chicken, cooked and diced (I bought a rotisserie chicken from the store and used the dark meat for the soup)
  • Gnocchi (I had some in the freezer from my Gnocchi making expedition)
  • 4 cups (1 litre) homemade stock (chicken or turkey)
  • 1 tbsp oil
  • salt and pepper to taste
In a pot, heat the oil and saute the onion, carrots, and celery.  Season with salt and pepper.

Once the veggies are about half way cooked and starting to soften, add the stock and bring to a boil to finish cooking the veggies.

Add the gnocchi (mine were still frozen but just toss them in either way) and reduce the heat to a simmer.

Add the chicken and the corn.  Simmer until the chicken is heated through.

Taste for seasonings, adjusting if necessary.

This is a very simple, yet tasty soup.  Perfect for soothing a sore throat, a head cold, or just for warming up!


Until next time, stay warm and eat well.

Pepper mill R2 D2 approves this soup!!

Wednesday, February 16, 2011

A Very Stylish Blog Award

Mateja over at Indulging Life is such a sweatheart.  If you haven't had a chance to check out her blog, you really need to.  She has passed on an award to the Little Kitchen!!  The Stylish Blogger Award!  Thank so much Mateja!!  There are some rules that go along with this award...


Following the rules of the award, I have to:

1. Thank and put link back to the person who gave me this award.
2. Share 7 things about myself.
3. Award 15 recently discovered great bloggers.
4. Contact these bloggers and personally tell them about the award.

Okay, so I linked everyone up with Indulging life at the top, I will do it again for safe meassure!

Now to share 7 things about myself...hmm....now I have to think....
  1. I am addicted to Food Network...of course I have the Canadian version so we do get some shows a season behind my friendly Americans.
  2. Almost all my travels as of the last few years involve baseball of some form, either going to Major League games with friends or watching our son play.
  3. My most favourite place on earth is the family Cabin.
  4. I adore side trips while driving to tour farms and factories and any place that will show us around!
  5. I need to get out more and see the local food scene in Winnipeg
  6. My boys and my sisters are so precious to me...even when they drive me nuts.  They drive me nuts because I love them and I love them because they keep me sane....does that even make sense?
  7. I enjoy food blogging more than I ever thought I would.  I have to remind myself that it is a hobby and I still have other things to do!
Okay, that wasn't too bad...was it?

Now for 15 bloggers to pass this on to....so many to choose from!!

Rich at Oil and Butter
Leanne at Healthful Pursuit
Ivy at The Happy Whisk
Gareth at Stumptown Savoury
Akheela at Torview
Toby at Plate Fodder
Chef Dennis at More Than a Mount Full
Carlyn at All Day I Dream About Food
Travis at Trav's Gone Gluten Free
Kimberly at Kimba's Kitchen
Kate at Diethood
Steph at Steph's Bite by Bite
Chris and Amy at A Couple In the Kitchen
The Chemist at Wilde in the Kitchen
Ang at Life Given, Eat Well

I wish allmy blogging buddies all the best!
Until next time, stay warm and eat well!

Tuesday, February 15, 2011

Bready or Not, Here's Some Rye Bread

Every time I wander down the baking aisle at the grocery store, I eye up the types of flour I would really like to try.  I pick up a package, look it over, and put it back on the shelf.  Saturday was the day I finally broke down and bought the rye flour to test out. I mean being a prairie dweller, I should at least make the attempt at making rye bread, right??

For those who may not know, this region of the prairies is renowned for rye bread...there is even 'Winnipeg Rye bread'!! The lovely bakers at KUB bread do have it down to a science.  One of the things people who move away from Winnipeg constantly ask visitors to bring them is KUB rye bread!!

The package of flour I bought had a bread recipe right on the back so I figured I would just try this one out tonight.  Of course, I had to play around a little with the recipe so I made two batches tonight.  The first batch, I swapped out some of the white flour for whole wheat.  These loaves were a bit heavier, chewy, but still oh so tasty.  I added some vital wheat gluten to both batches, just because I have some kicking around so I wanted to use it.

Rogers Basic Rye Bread
  • 2 1/4 cups warm water
  • 2 tbsp honey
  • 1 tbsp yeast
  • 1/4 cup vegetable oil (I used Canola oil)
  • 1 tbsp salt (I did use a little less than this)
  • 1 tbsp caraway seeds (optional, I didn't have any so I didn't use them)
  • 1 tbsp lemon juice
  • 3 cups dark rye flour
  • 2 1/2 - 3 1/2 cups all purpose flour (I made one batch with 1/2 of this amount as whole wheat flour)
  • 4 tbsp vital wheat gluten (not in the original recipe but it adds protein and some elasticity)
In the bowl of a stand mixer mix the warm water, honey, and yeast.  Let this mixture get all foamy and ready for bready.


Add the caraway seeds, oil, salt, and lemon juice and mix.  Then add the dark rye flour and beat on low speed with the dough hook for about 2 minutes, making sure all of the flour is is moist.    
Now add enough of the all purpose flour and the vital wheat gluten to make a soft dough.  Turn the dough out onto a floured counter and knead for about 5 minutes until the dough is smooth and elastic.  (you can do this with the dough hook but this works out soooo much stress....)

Form the dough into a ball and place it in a greased bowl, cover with a clean tea towel and allow to rise until doubled in bulk, about 1 hour.
Punch the ginormous dough ball down and form it into 2 balls.
Cover and let it rest for 20 minutes.
Roll each ball into a long, rounded loaf.

Place it on a lined baking sheet.
Use a sharp knife make about 4 shallow diagonal slashes across the top of each loaf.
Cover with a clean tea towel and allow to rise until double in bulk, about 1/2 to a full hour.


Bake for 40 to 50 minutes at 375F until baked and brown.
Moved baked loaves to a wire rack to cool.

Slice and enjoy! 
Now these loaves turned out incredibly tasty with a nice chewy texture.  It toasted great and went so well with peanut butter. I will definitely make these again, especially since I have the flour!
Until next time, stay warm and eat well!
Saturday, February 12, 2011

Cinnamon Heart Cookies and a Valentine's Day Story


Valentine's day is a coming....do you do anything special? I try not to get overly cynical during these 'Hallmark Holiday' but it is sooooo very difficult for me. Perhaps I am just cynical by nature, who knows?

Hubby and I used to go out for dinner and do all the cute couple type things on Valentine's day, really. We did. Then one Valentine's day about 13 years ago, we discovered on accident that Hubby had magically developed a rather severe allergy to fish and seafood....I mean driving high speeds in snow and ice to the emergency department type of stuff....I did actually blow a couple of red lights (the streets were bare, with no one else on them at the time).

I think one of the other scary things about that night so many years ago was that the med student treating Hubby turned out to be someone I went to high school with. I was in complete disbelief that this person even made it into med school, let alone was treating my dear sweet Hubby!! He even managed to give me super wrong instructions for how to use the epi pen they were prescribing for Hubby to carry!!!! Yikes!!!!

Anaphyalaxis can be a serious, life threatening allergy emergency. The biggest life saver is recognizing the signs and symptoms such as swelling of the face, neck, tongue, trouble breathing, hives, vomiting, cramping, diarrhea, coma, and death. Seems drastic, I know but the second you think any of these are happening, call and ambulance at once! We were already in the car so I drove Hubby myself. We got to emergency that night and I told the triage nurse he was in the midst of anaphylaxis, they took him one way to treat immediately and sat me down to fill out the forms!! Read more about Anaphalaxis here.
That really was a lot of excitement wrapped up into one Valentine's day for us. We now stay in and do our own cooking...as romantic as it gets when there is a 15 year old in the house!!

I did manage to bake up some heart shaped sugar cookies with a cinnamon royal icing...the students (and fellow staff) at work seemed to really enjoy them...I also truly enjoy the cheers of the students when they realize that Mrs. Morton has baked for them....music to my ears really!

The cookie dough is my favourite all time, stand by sugar cookie recipe...I use it for all things sugar cookies. You can add all sorts of things to it such as flavourings and colourings to suit your holiday or event needs. Many times, like with these cookies, I tend to flavour up the icing. At Christmas, I like to use peppermint in the icing and for Valentine's Day, I tried out this cute little bottle of cinnamon oil....great results I must say!
This is also my recipe for making the Star Wars cookies we all love so much!! (You can find the picture of these at the bottom of the page!


Sugar Cookies for all occasions
Printable sugar cookie recipe
  • 3/4 cup butter, softened
  • 1 cup sugar
  • 1 egg
  • 1 tsp vanilla
  • 2 1/4 cup flour
  • 1/4 tsp salt
In a bowl, combine and set aside:
  • 2/14 cups flour
  • 1/4 tsp salt
In the bowl of your stand mixer, or in a bowl with a hand held mixer, or an old fashioned bowl with a wooden spoon, cream together until light and fluffy:
  • 3/4 cup butter, softened
  • 1 cup sugar
Add to this, and continue to beat:
  • 1 egg
  • 1 tsp vanilla (or flavouring of your choice)
Add the flour mixture and continue to mix until the flour is well incorporated.

Form the dough into 2 discs, wrap in plastic wrap and chill for about an hour. Chilling the dough makes is so much easier to roll out and keeps the cookies from spreading while baking.


Preheat the oven to 350F

Lightly dust the counter top with some flour and roll out a disc of dough to 1/8 to 1/4 inch thickness.
.
Using the cookie cutter of your choice, cut out the shapes of your choice.

Transfer the shapes to a silpat or parchment paper lined baking tray.


Bake at 350 F for 10 to 12 minutes or until slightly golden at the edges.


Allow the cookies to cool for a couple of minutes before transferring to a cooling rack.


Once the cookies are cool, decorate!!


I used the royal icing recipe from the can of Wilton powdered egg whites!


Beat together:
  • 3tbsp powdered egg whites
  • 4 cups icing sugar
  • 6 tbsp warm water (adjust amount for desired thickness/thinness)
Since I wanted a thin icing, I add more than 6 tbsp of water.
I also add 1/16 of a tsp of this cinnamon oil to the icing. It is really powerful. It even has a warning on the back about not getting any in your nose or your eyes...also a warning about steam...very potent!! It is the kind used in candy making. (Although I do think that next time, I will add 1/8 tsp next time as there was a faint taste of cinnamon, I wanted a little bit stronger of a cinnamon flavour in the icing)

Also add any colourings to the icing at this point as well.

For these cookies, I want a thin icing as I am dipping the cookies into the icing, then letting the excess drip off with a little help from a spatula and letting them dry.
Dip, dip, sha na na na, sha na na na na!

Allow the cookies to dry for a couple of hours, or over night.

To see some other amazing treats, go see Lisa at Sweet as Sugar Cookies....check out her linky party!


Until next time, stay warm and eat well!!